UpScaler.tools blog
upgrade photo quality
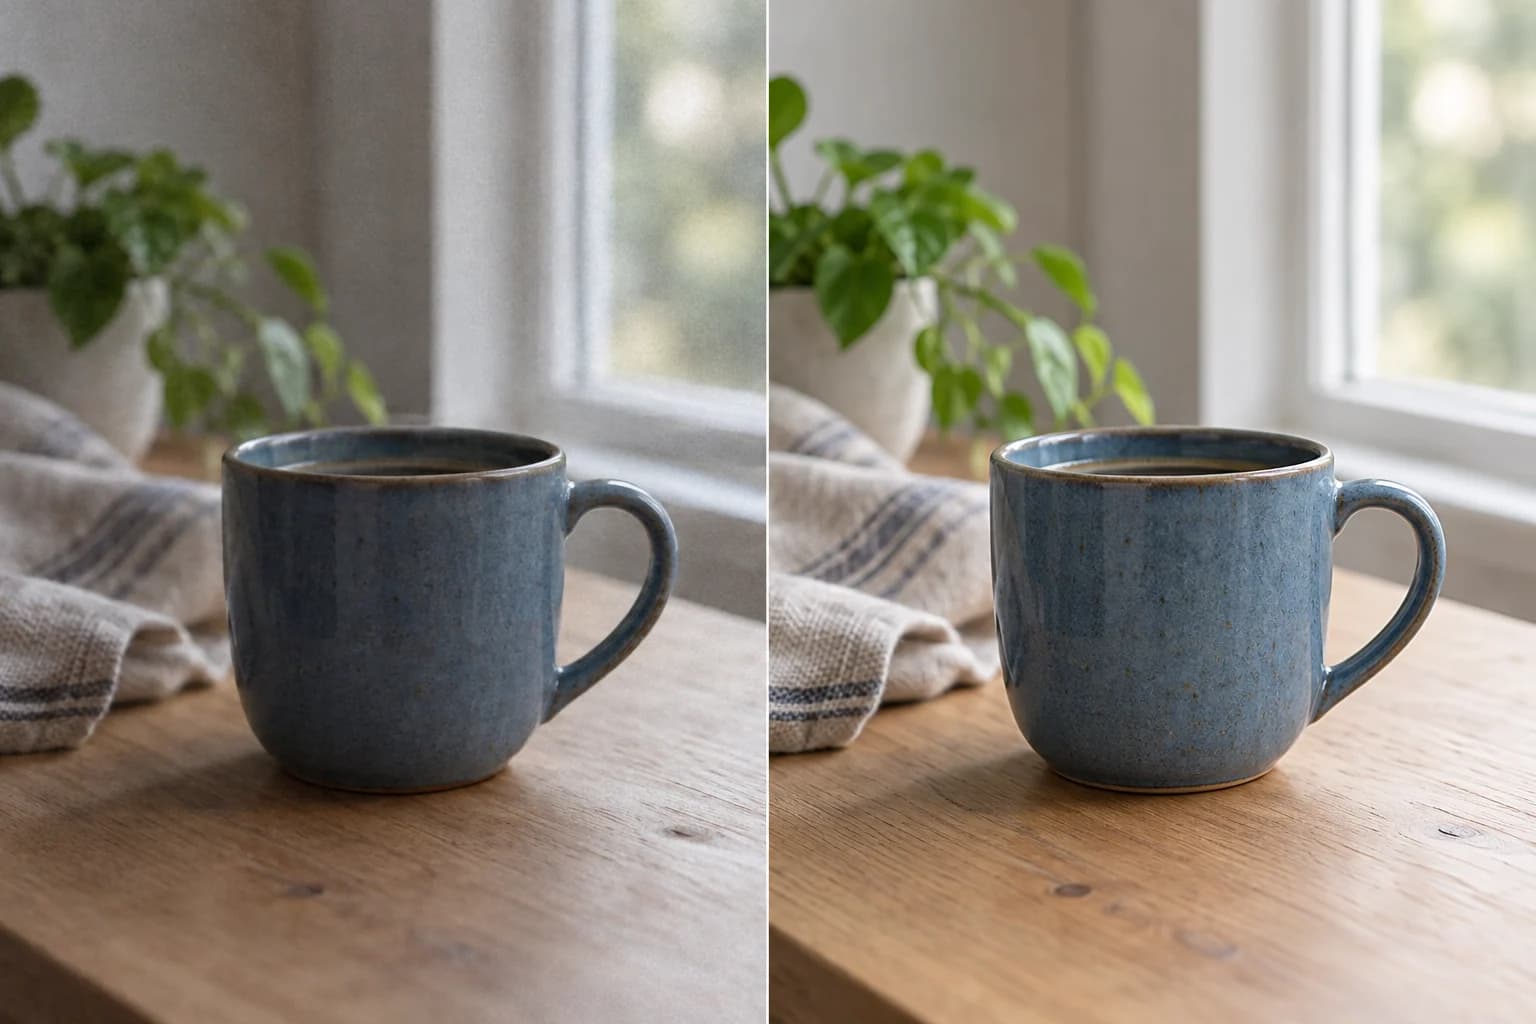
To upgrade photo quality, start with the visible problem: flat light, noise, compression, or soft detail. Compare the result with the original.
A larger file is not automatically a better photo. Enhancement improves how existing pixels look, while upscaling increases pixel dimensions and may predict detail. Separate those jobs to keep a useful image natural.
The cover is an AI-generated illustration, not an actual UpScaler.tools processing result.
What does it mean to upgrade photo quality?
Upgrading photo quality means making the subject easier to read while keeping the scene, identity, text, and composition intact. Typical changes include balanced exposure, neutral white balance, less noise and JPEG artifacting, restrained edge contrast, and plausible texture.
Natural does not mean maximum sharpness. Heavy sharpening creates halos; aggressive noise reduction makes skin and fabric look plastic; high saturation can change a product's appearance. Improve what the source supports instead of inventing detail.
Why a photo looks worse than its source
Before editing, check where quality is being lost:
- Light: A dark or uneven exposure hides texture and color.
- Compression: Repeated exports create blocks, ringing, and smeared edges.
- Noise: Low-light grain can compete with small details.
- Focus or motion: Severe blur cannot be recovered with certainty.
Use the original camera file or highest-quality export. A screenshot or messaging-app copy has already discarded information. Decide the destination too, because a marketplace thumbnail, presentation slide, and print draft need different dimensions.
A practical workflow to upgrade photo quality
- Identify one visible problem before touching the image.
- Use the cleanest source and decide the final destination.
- Reduce noise and compression before adding clarity, or sharpening may turn artifacts into fake detail.
- Check faces, small text, edges, and repeated textures at 100% zoom and at the final display size. Keep the original because enhanced pixels are a visual reconstruction, not proof for identity-sensitive images or documents.
Use an ai enhance image workflow for a controlled first pass
If you want a quick, reviewable first pass, UpScaler.tools Enhance Image handles common quality adjustments in one focused tool. It accepts one JPG, PNG, or WebP file up to 10 MB. Sign in, upload the source, and start. Each completed result uses one credit.
The AI instruction targets visible noise and compression, restrained sharpness and micro-contrast, exposure, white balance, and natural color where evidence exists. It aims to preserve identity, faces, text, objects, geometry, crop, composition, aspect ratio, and style without adding content.
When processing finishes, use the before-and-after slider. Check the output instead of trusting the label “enhanced,” then download the approximately 1K PNG at the size you need. This is a photo quality enhancer, not a 4K or 16K upscaler. Use an image upscaler when the next requirement is a larger canvas.
FAQ: upgrade photo quality
How can I upgrade photo quality online?
Upload the cleanest JPG, PNG, or WebP source you have, start an enhancement, compare it with the original, and export after checking faces, text, and edges.
Is AI enhancement the same as upscaling?
No. Enhancement improves existing pixels. Upscaling increases pixel dimensions and may reconstruct detail. Choose based on appearance versus output size.
Can Enhance Image make a photo 4K?
No. It returns an approximately 1K PNG for natural cleanup and review, not large-format enlargement.
What does Enhance Image cost?
Each completed enhancement uses one credit. Failed processing returns the reserved credit automatically, and sign-in is required before processing.
Start with one original image in Enhance Image, compare the result at its final size, and keep the version that still looks like the same photograph.
Written by upscaler.tools.
how to change the resolution of a picture
Learning how to change the resolution of a picture starts with pixel dimensions, not a DPI box. Here is how to resize, upscale, and export it with confidence.…
Read article
How to Turn Photos into Blurred Backgrounds
Turning a normal photo into one with blurred backgrounds is a controlled edit, not a from-scratch image generation task. You start with a real subject and a…
Read article
ai photo enhancement pricing
AI photo enhancement pricing is simple to compare: one UpScaler.tools credit covers one completed edit, so your plan can match the images you finish each…
Read article