UpScaler.tools blog
how to change the resolution of a picture
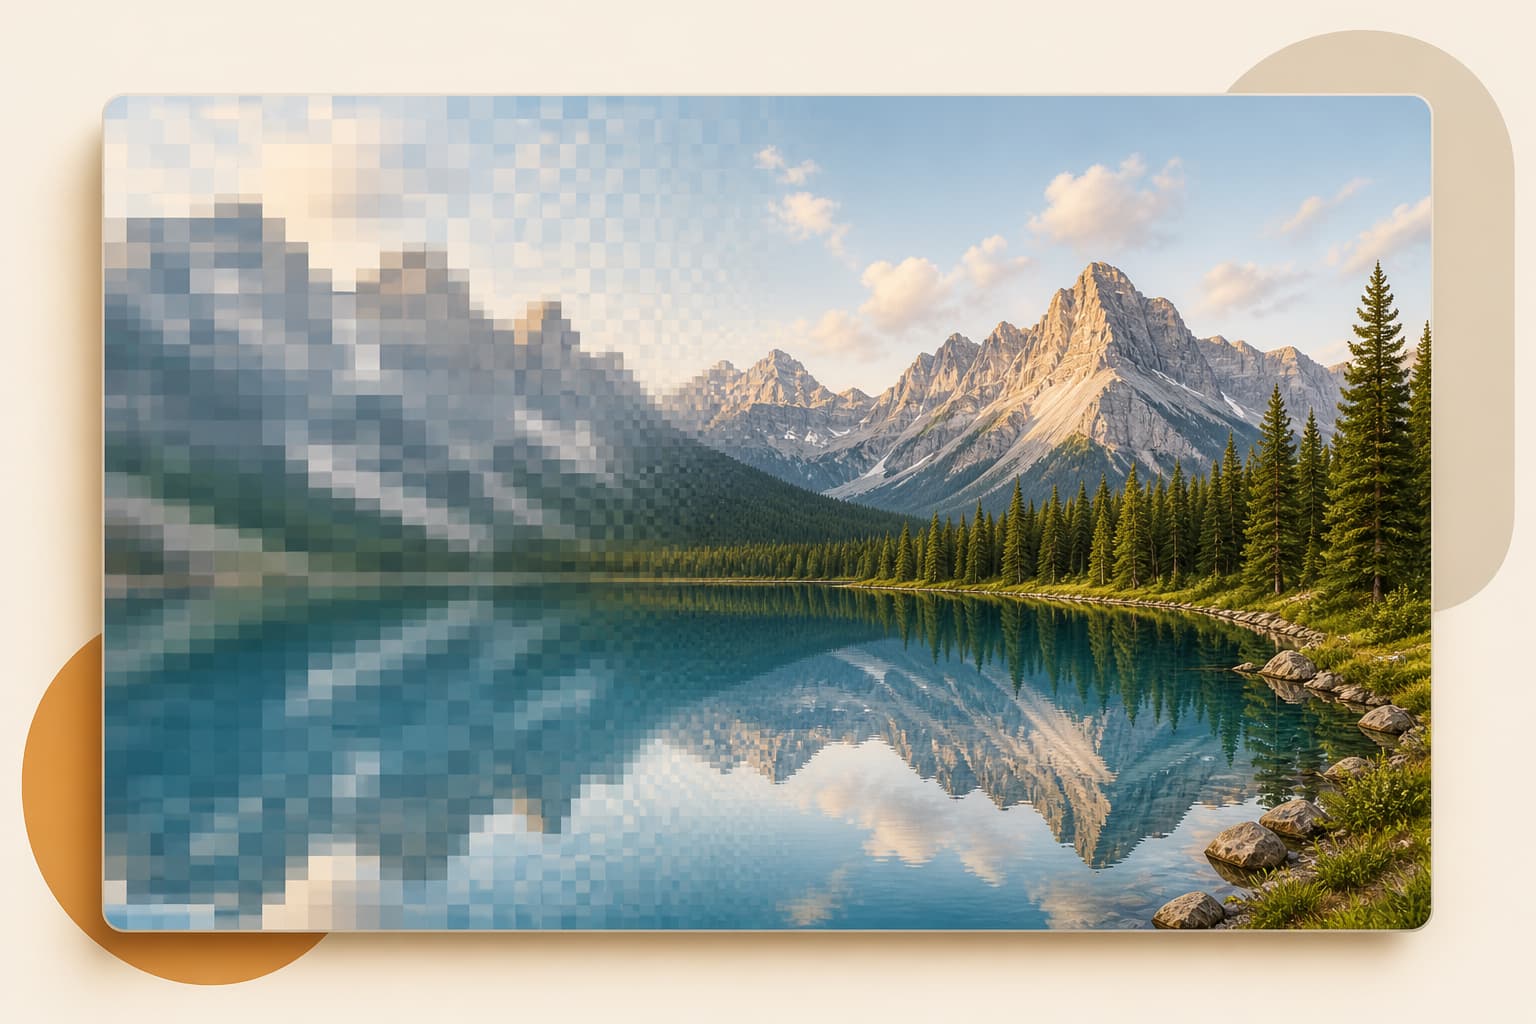
Learning how to change the resolution of a picture starts with pixel dimensions, not a DPI box. Here is how to resize, upscale, and export it with confidence.
The right method depends on the destination. A website thumbnail needs fewer pixels. A print, presentation, or large display may need more. Changing one number without checking the intended use can produce a large file that still looks soft.
What picture resolution actually means
For a digital picture, resolution usually means its pixel dimensions: width × height. A 1200 × 800 image contains 960,000 pixels. If you double both dimensions to 2400 × 1600, the result contains 3.84 million pixels, four times the original pixel count.
This distinction matters because “2×” normally refers to each dimension, not the total number of pixels. The calculation is simple:
new width = original width × scale factor
new height = original height × scale factor
DPI or PPI is different. It describes how densely those pixels are placed when you print the image. Changing metadata from 72 DPI to 300 DPI does not create detail. If the pixel dimensions stay the same, you only change the intended print size.
Decide whether to resize or increase picture resolution
Resizing downward removes pixels. This is useful when you need a smaller web image, email attachment, or social media asset. Most image editors can do it well because they combine nearby pixels rather than inventing new ones.
Increasing resolution is harder. Traditional interpolation calculates new values from neighboring pixels. It makes the dimensions larger, but often softens hair, text, foliage, and fabric.
An AI image upscaler predicts plausible high-resolution detail from source patterns. It can beat basic interpolation on a small or slightly soft photo, but it cannot recover information that was never captured. A heavily blurred face, clipped text, or severe JPEG artifacts may remain inaccurate.
Use these practical rules:
- Resize downward when the current image is larger than the required output.
- Upscale when the required pixel dimensions are larger than the source.
- Change DPI metadata only when a print workflow asks for it and you already have enough pixels.
- Return to the original camera or design file when possible. A clean source beats repeated processing.
How to change the resolution of a picture step by step
Before you open a tool, write down the required width and height. A vague goal such as “high resolution” is not measurable. A target such as “2400 pixels wide for a presentation” gives you a clear finish line.
- Check the current pixel dimensions. Find them in the file properties or image information panel. Record the width, height, format, and file size.
- Calculate the required scale. Divide the target width by the current width. A 1200-pixel picture that must become 2400 pixels wide needs 2× enlargement. Keep the aspect ratio locked so people and objects do not stretch.
- Choose the smallest useful scale. If 2× reaches the target, do not select 8×. Larger factors require more prediction and make artifacts easier to notice.
- Process a copy. Keep the original file unchanged. Repeatedly enlarging an already enlarged output compounds sharpening halos, noise, and invented textures.
- Inspect at 100% zoom. Check faces, small text, straight edges, repeated patterns, and high-contrast boundaries. Then view the picture at its final display or print size.
- Export for the destination. JPEG often suits photos, PNG can preserve transparency and graphic edges, and WebP can reduce web download size. Repeated JPEG saves can add compression damage.
Use an AI upscale image workflow when you need more pixels
When the source is too small, the AI upscale image tool on UpScaler.tools provides a focused enlargement workflow. It accepts JPG, PNG, and WebP files up to 10 MB. You can select 2×, 4×, 6×, 8×, or 10× enlargement, compare the processed result with the original, and download the version you approve.
Upload the cleanest source you have and choose a scale from the target dimensions. Processing requires sign-in and uses one credit. If it fails, the reserved credit is returned.
Drag across the original and result instead of judging only the larger preview. Check hair, product labels, repeated patterns, and silhouettes. If the result looks artificial, use a smaller scale or better source.
For archival images or evidence, remember that AI-generated detail is a plausible reconstruction, not proof of what the camera captured. Keep the source and label the upscaled copy when accuracy matters.
Common resolution changes that do not work
Changing only the DPI value is the most common mistake. It may alter the print-size instruction, but it does not add pixels. The picture will not gain new visual information.
Taking a screenshot of a small image records the same softness plus the limits of your display. Download the original file instead.
Aggressive sharpening also does not equal higher resolution. Sharpening increases contrast around edges. Too much creates bright halos and crunchy texture without adding trustworthy detail.
Avoid enlarging in several stages. A sequence of 2× exports preserves no more truth than one planned enlargement and gives errors more chances to spread.
Frequently asked questions about picture resolution
Does changing picture resolution reduce quality?
Reducing dimensions discards pixels, while increasing dimensions requires interpolation or predicted detail. Either operation can affect quality. Keep the original, make one planned resize, and inspect the output at the size where people will use it.
What resolution do I need for printing?
Start with the physical print size and the printer’s requested PPI. Multiply inches by PPI to get the needed pixel dimensions. An 8 × 10 inch print at 300 PPI needs 2400 × 3000 pixels. Viewing distance and printer type can change the practical requirement.
Can I change a low-resolution picture to high resolution?
Yes, you can increase its pixel dimensions with interpolation or AI upscaling. The result can look cleaner and fit a larger layout, but no method guarantees recovery of every original detail. Source quality still sets the ceiling.
Which upscale factor should I choose?
Choose the smallest factor that meets the final width and height. Divide the target dimension by the source dimension, then select the nearest available factor at or above that result. Review the output before you publish or print it.
Measure the target, upscale once, and compare the result with the untouched source. If you need more pixels now, open the online image upscaler, choose the smallest suitable factor, and review the edges before downloading.
how to enhance photo quality
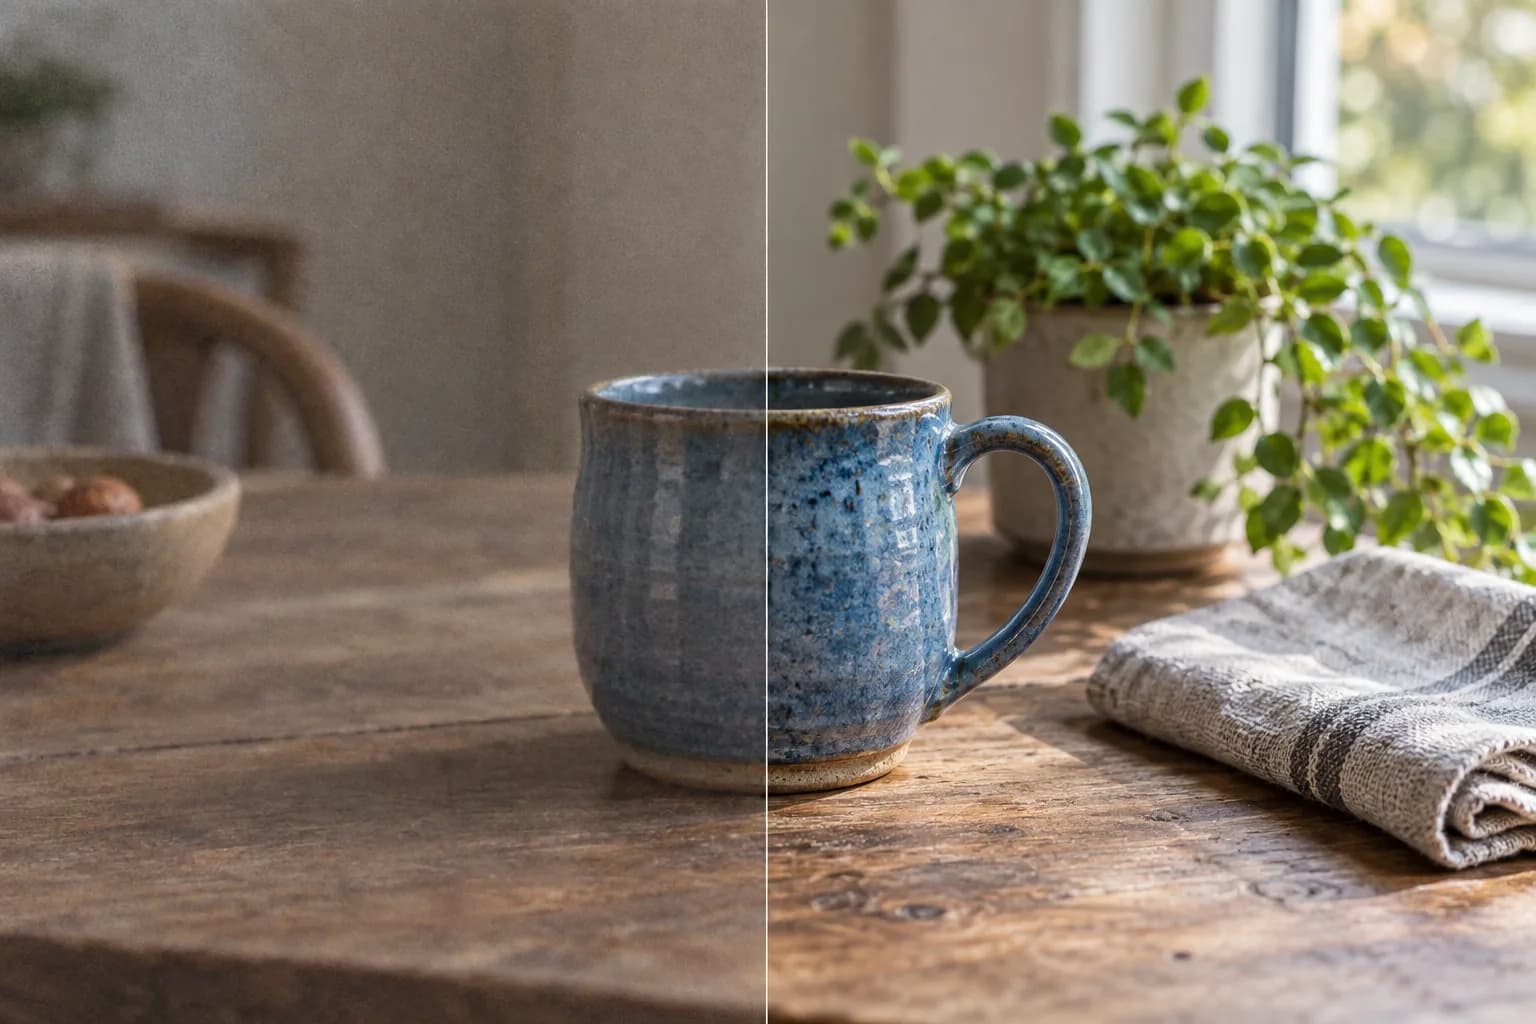
Learn how to enhance photo quality: correct light and color, reduce noise, and refine detail. Compare the original and AI result before downloading your PNG. A…
Read article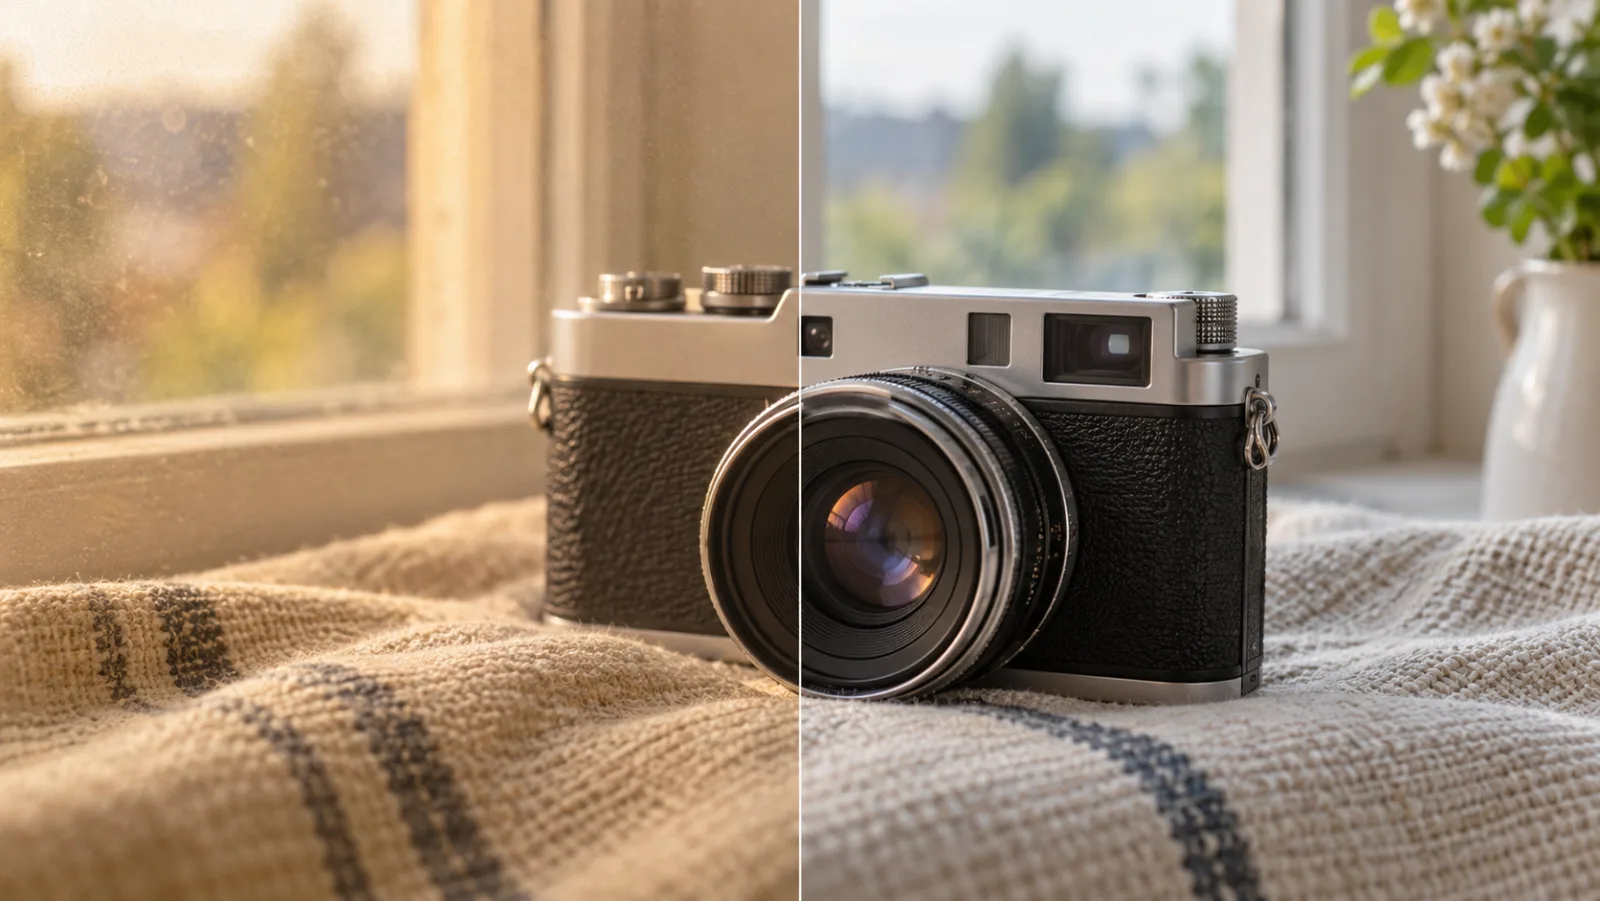
how to make image quality better
Learn how to make image quality better: choose a cleaner source, correct lighting and noise, then compare an AI-enhanced image before you share or publish it.…
Read article
How to Turn Photos into Blurred Backgrounds
Turning a normal photo into one with blurred backgrounds is a controlled edit, not a from-scratch image generation task. You start with a real subject and a…
Read article