UpScaler.tools blog
how to make image quality better
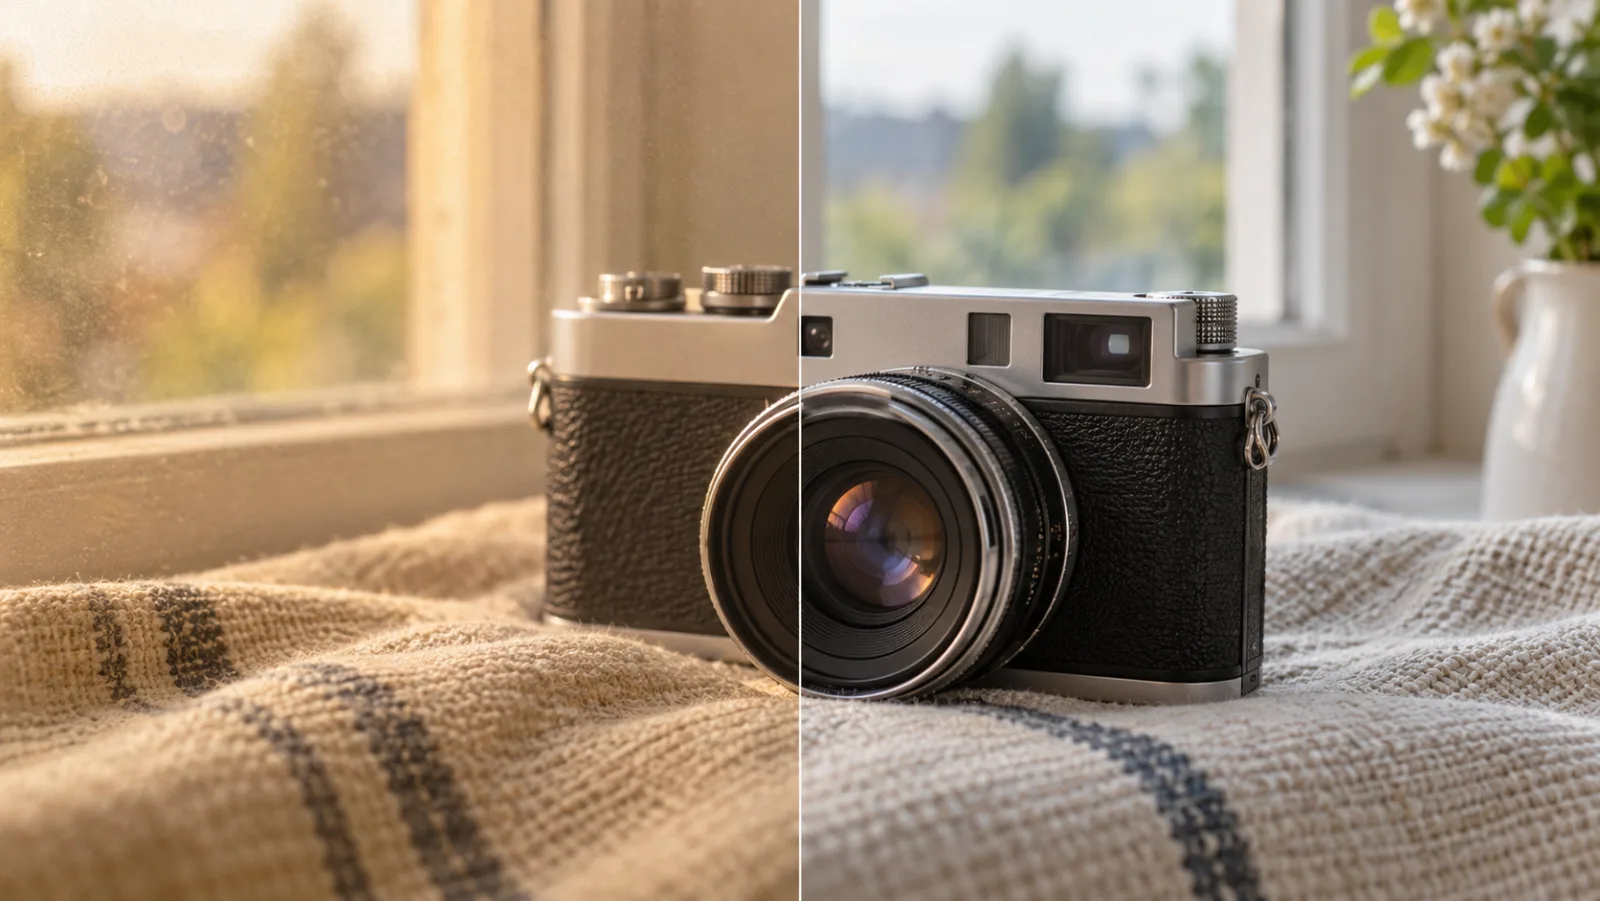
Learn how to make image quality better: choose a cleaner source, correct lighting and noise, then compare an AI-enhanced image before you share or publish it.
A picture can look acceptable on your phone and disappointing in a product listing. Before adding sharpness, find out whether the problem is the file, the edit, or the way the website displays it. This guide is for everyday photos, online listings, and images used in presentations.
The cover is an AI-generated illustration, not a measured result from the enhancer.
What makes image quality better?
Better image quality means useful detail, balanced light, natural color, and enough pixels for the intended display. Enhancement adjusts how an image looks. Upscaling increases its pixel dimensions. Neither process guarantees that missing detail can be recovered accurately, so choose the task that matches the visible problem.
A 600-pixel-wide image stretched across a 1,200-pixel layout may look soft even when the original is in focus. A larger file can still look poor if shadows contain noise or colors are wrong. File size alone is not a quality score.
Start with the source and the display size
Find the original camera file or the highest-quality export available. Avoid editing a screenshot of an image that has already passed through a messaging app. Keep the original in a separate folder and make changes to a copy.
Check the destination's pixel requirements before editing. If a website stretches your upload, adjust the display size or supply a larger image. Inspect both the downloaded file and the uploaded version, because a platform may resize or compress it again.
Adobe's guide to image size and resampling explains that resampling adds or removes pixels. Changing only the print-resolution setting leaves the pixel count unchanged. A higher DPI label therefore does not repair a blurry web image.
Match the correction to the image problem
Use the most visible defect to choose your first edit. Inspect at 100% zoom to see individual pixels, then return to the size your audience will use.
| What you see | First correction | Warning sign |
|---|---|---|
| Dark subject or yellow cast | Adjust exposure and white balance | Pale highlights or unnatural skin |
| Speckled shadows | Reduce noise | Smooth, waxy texture |
| Blocks around edges | Find a cleaner source or reduce compression artifacts | Smeared lettering |
| Mild softness | Apply gentle sharpening | Bright halos around objects |
| Image stretched too large | Resize the layout or upscale | Larger dimensions with no useful detail |
Correct light and color before sharpening. Strong sharpening can emphasize grain, while excessive noise reduction can erase fabric texture. Manual controls are useful when you need one precise adjustment and want to leave everything else alone.
For an old scan, keep visible wear separate from missing information. Cleaner tones may help, but a newly generated eye or word is not evidence of what the original contained.
Use an ai enhance image workflow online
An ai enhance image workflow can combine several corrections in one pass. The UpScaler.tools AI image enhancer is instructed to reduce noise and compression artifacts, refine restrained sharpness, and balance exposure and color. It also asks the model to preserve the subject and composition. Check the result, because generative edits can still alter details.
- Upload one image. Choose a JPG, PNG, or WebP file up to 10 MB. Sign in before processing.
- Start processing. A completed enhancement costs one credit. Failed processing returns the reserved credit automatically.
- Compare the preview. Drag the comparison slider and inspect faces, text, edges, and texture.
- Download the result. Save the approximately 1K PNG as a new file.
This is a quality-enhancement tool. If larger pixel dimensions are the main requirement, use the separate image upscaler.
Check the result before sharing
For a product photo, compare its color and shape with the original. For a portrait, check eyes, teeth, and skin texture. Read every visible label. Reject an edit that changes important information, even if it looks sharper.
Review the image at its final display size too. Keep the better version, avoid repeated enhancement passes, and check the uploaded preview before publishing.
Choose one photo with visible noise or mild softness, open Enhance Image, and compare its important details before saving.
Written by upscaler.tools.
FAQ: how to make image quality better
Can I improve image quality without increasing resolution?
Yes. Exposure, color, noise, and restrained sharpening can improve appearance without making the canvas larger. Check pixel dimensions separately when choosing an output for a specific layout.
Can AI fix a severely blurred image?
There is no guaranteed recovery. Severe motion blur or missed focus can remove usable detail. An AI result may look plausible while changing the subject, so keep the original.
Does downloading PNG restore lost quality?
No. PNG saves the edited result without JPEG-style lossy compression, but it cannot restore information already missing from the source. It also does not guarantee higher resolution.
How much does Enhance Image cost?
Each completed task uses one credit. Processing requires sign-in, and failed tasks return the reserved credit. Check pricing for available plans.
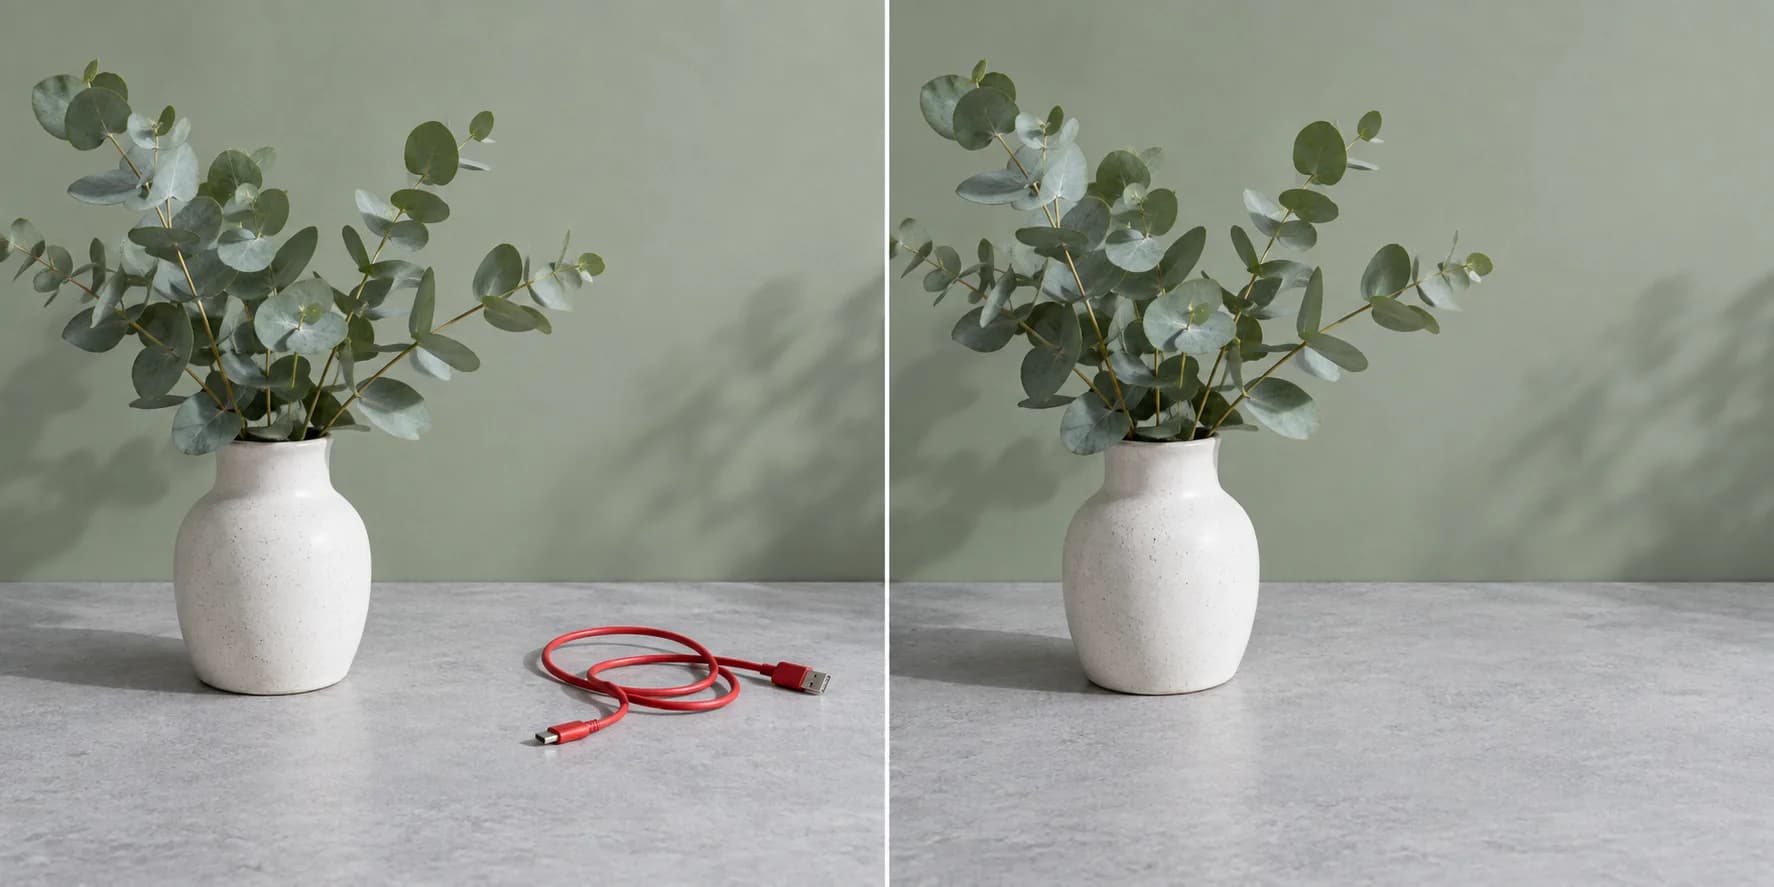
how to remove something from a picture
Learn how to remove something from a picture: choose cropping, healing, or AI erasing, then check edges, shadows, and texture before saving your edited photo.…
Read article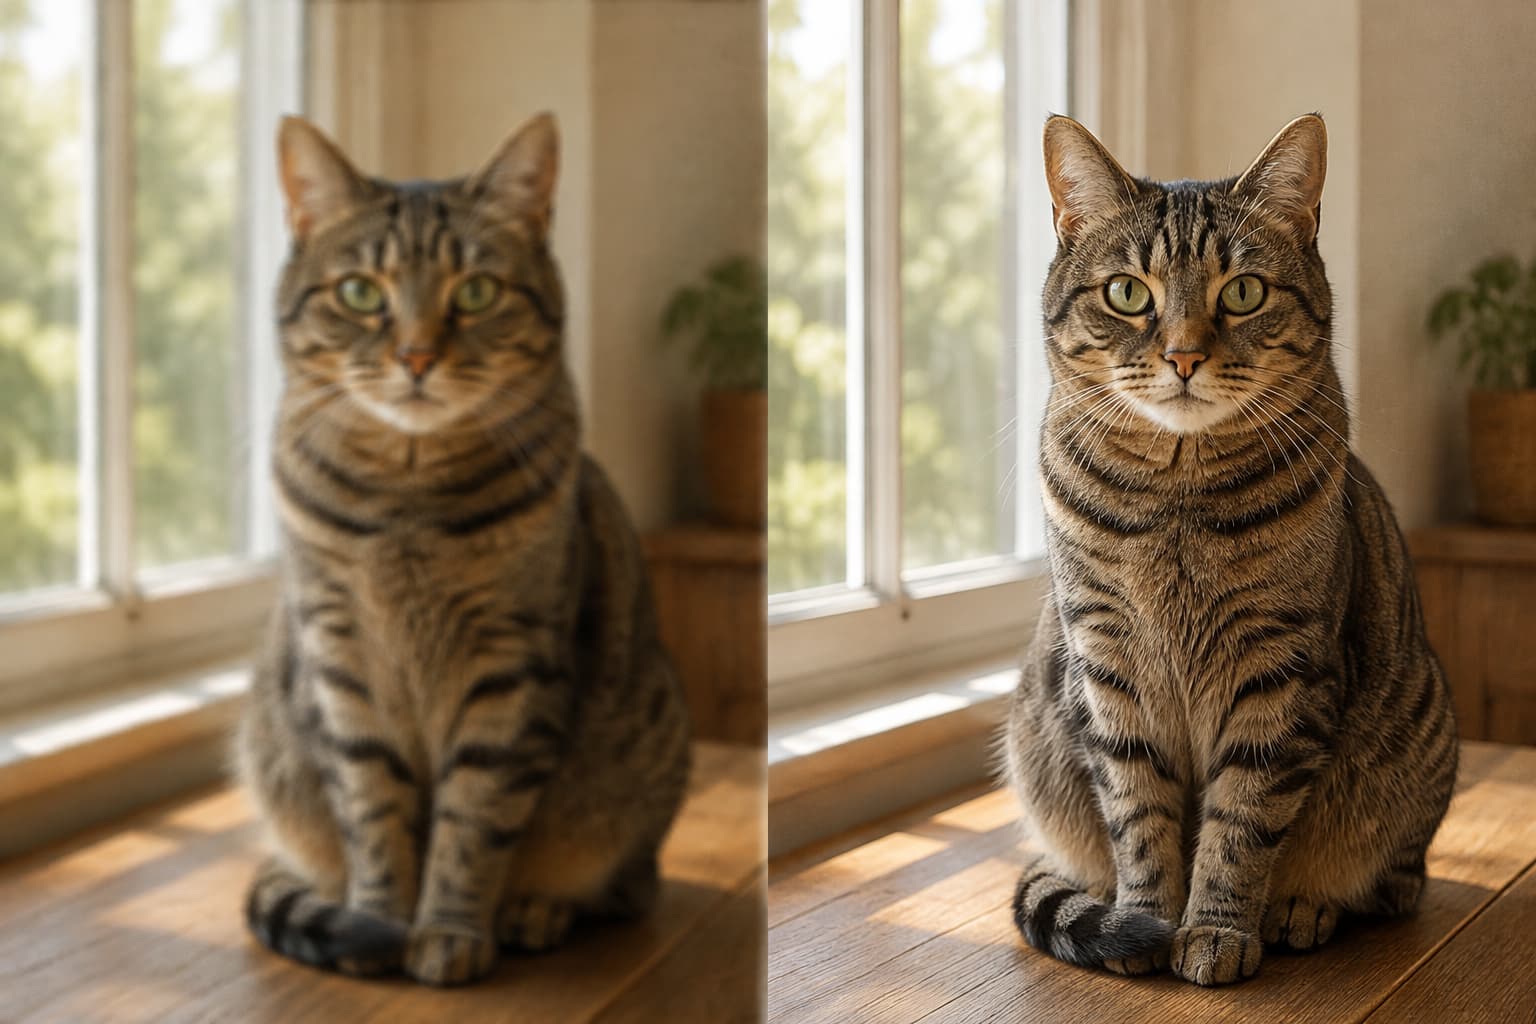
how to enhance blurry pictures
To enhance blurry pictures, first identify whether the softness comes from focus, motion, noise, or compression. Then restore useful detail conservatively and…
Read article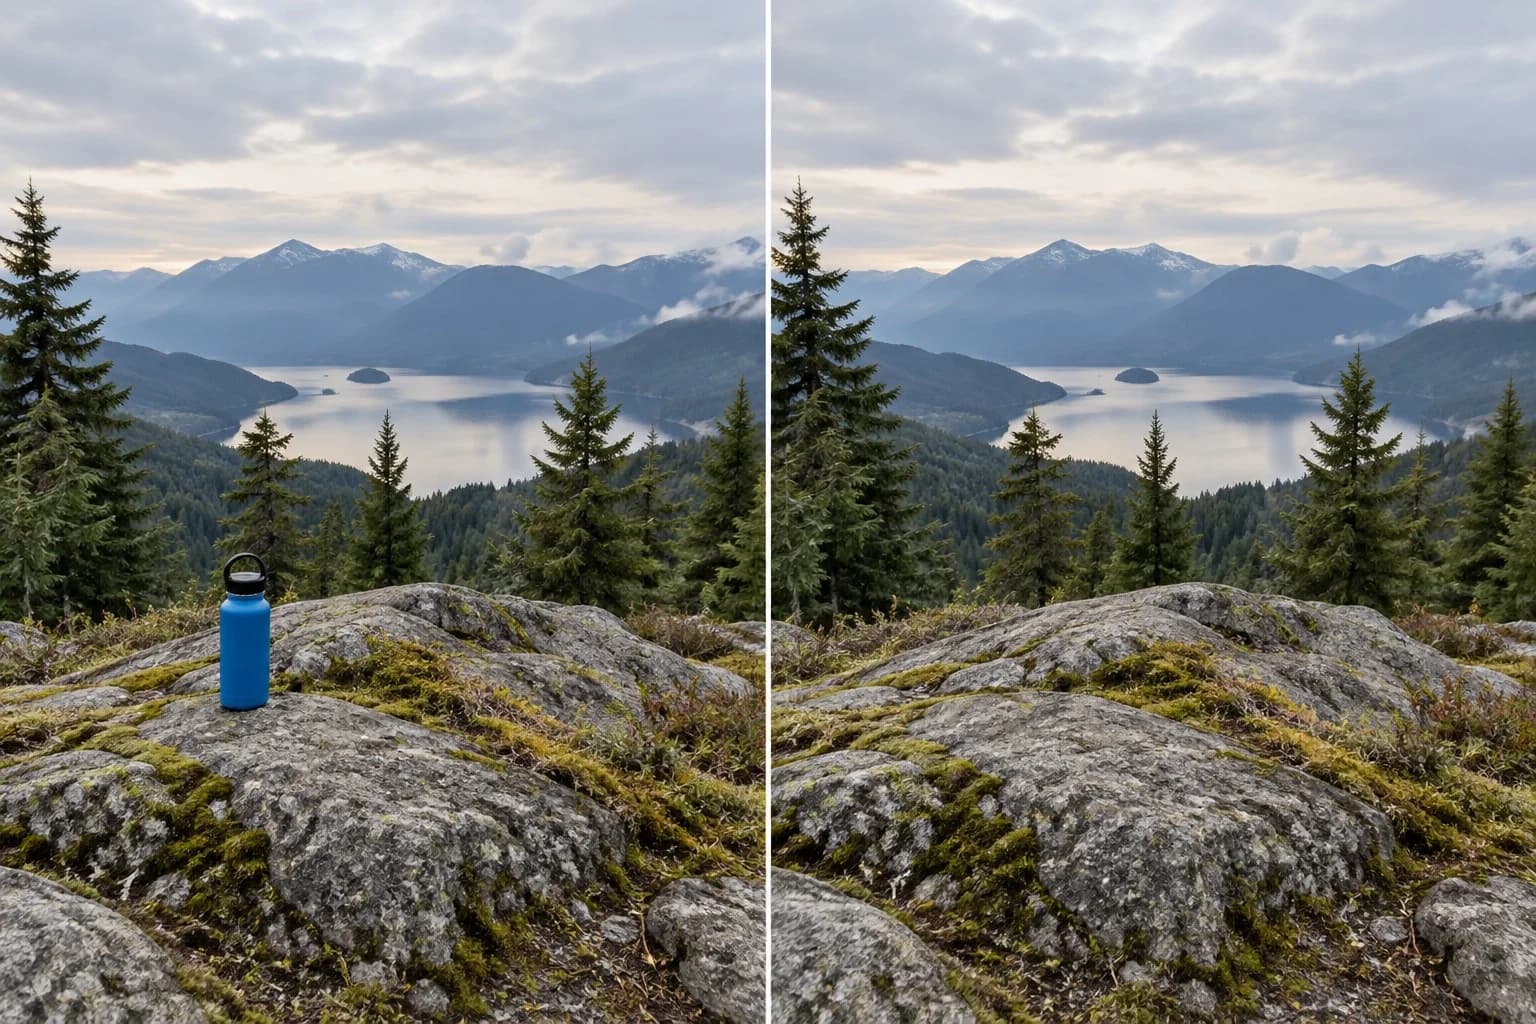
how to remove things from photos
How to remove things from photos: decide whether to crop, retouch, or rebuild the background, then review the image at its final display size before sharing.…
Read article