UpScaler.tools blog
AI Picture Quality Enhancer: A Guide
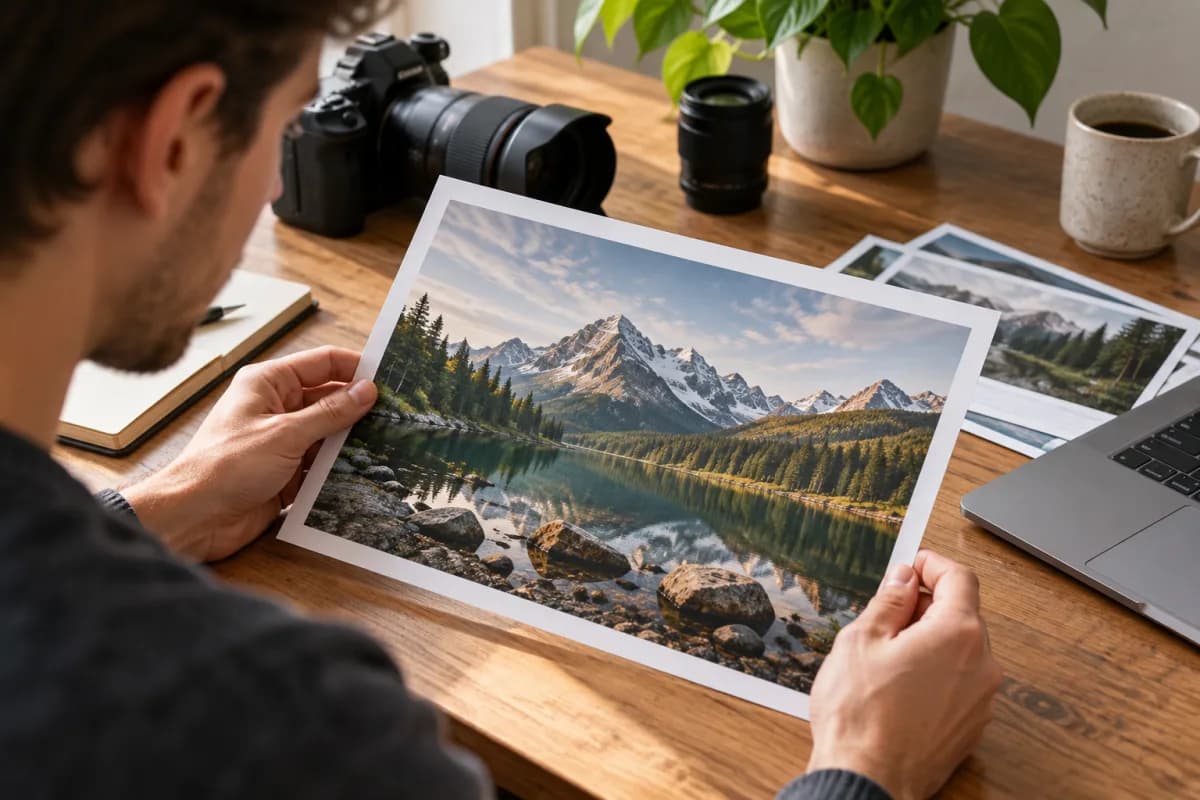
An AI picture quality enhancer can reduce visible noise and compression artifacts while adjusting sharpness and color. Learn how to inspect the result and choose the right output for your project.
What is an AI picture quality enhancer?
An AI picture quality enhancer processes an existing image to improve its appearance. Depending on the tool, it may reduce grain, soften compression blocks, adjust exposure, or make edges look clearer. The result is an interpretation of the input, so improvements are not always faithful to the original scene.
Picture quality and image size are different. A noisy photo may have plenty of pixels, while a clean thumbnail may be too small for a large layout. Enhancement addresses appearance; upscaling increases pixel dimensions. Check both before choosing a tool.
Identify the problem before you enhance an image
View the original at 100% zoom and at the size you intend to use. Look for these common issues:
- Noise: irregular speckles, often visible in shadows or low-light photos.
- Compression artifacts: blocky patches or halos around edges, often caused by repeated JPEG saves.
- Softness: edges lack definition, although strong motion blur or missed focus may have already removed important information.
- Color or exposure: a color cast, dark subject, or bright highlights can make an otherwise detailed photo hard to use.
Start with the best available source. A camera original or a clean scan usually gives an editor more information than a screenshot or a heavily compressed copy. Keep the original so you can compare details later.
What can AI enhancement actually recover?
An enhancer estimates changes from the image it receives. It can make existing edges and textures easier to see, but it cannot verify what a missing letter, facial feature, or product marking looked like. Plausible detail is not proof of accurate detail.
For documents, evidence, or product photos where exact features matter, use a better source or reshoot when possible. Check fine text, eyes, jewelry, and straight edges after processing. If a detail changes meaning, keep the original or edit it manually instead.
How to use UpScaler.tools to enhance a picture
The Enhance Image tool provides an automatic AI enhance image workflow for noise, compression, clarity, light, and color. It aims to preserve the subject and composition, but generated results can vary. There are no separate adjustment sliders.
- Choose one image. Upload a JPG, PNG, or WebP file up to 10 MB.
- Sign in and start. Each completed enhancement uses one credit. If processing fails, the reserved credit is returned.
- Compare the result. Use the comparison view to inspect faces, text, edges, and colors against the original.
- Download the PNG. Check the downloaded dimensions and view it in the final layout before publishing.
The tool produces an approximately 1K PNG. It is not a 4K or 16K upscaler, and the output may have fewer pixels than a large source. If your layout needs more pixels, try the separate image upscaler and inspect its result too. A second successful task uses another credit.
How to judge the final image
Compare the images at the same display size. Look for halos around high-contrast edges, waxy skin, shifted colors, or invented texture. Then check the result at its actual intended size: a small social image and a large print have different requirements.
If the automatic result changes an important detail, use the original or a manual editor. An AI image enhancer is useful when its output fits your purpose, not simply when it looks sharper.
The cover is an AI-generated illustration, not an actual enhancement result.
FAQ: AI picture quality enhancement
Can AI improve a blurry picture?
It can make mildly soft edges appear clearer, but it cannot reliably reconstruct details lost to severe blur. Compare important features with the source.
Does enhancing an image increase its resolution?
Not necessarily. Enhancement changes appearance; upscaling changes pixel dimensions. Check the output dimensions before using an image for a large design or print.
Which image format should I upload?
Use the best available JPG, PNG, or WebP file under 10 MB. Avoid repeatedly saving a compressed JPEG before processing it.
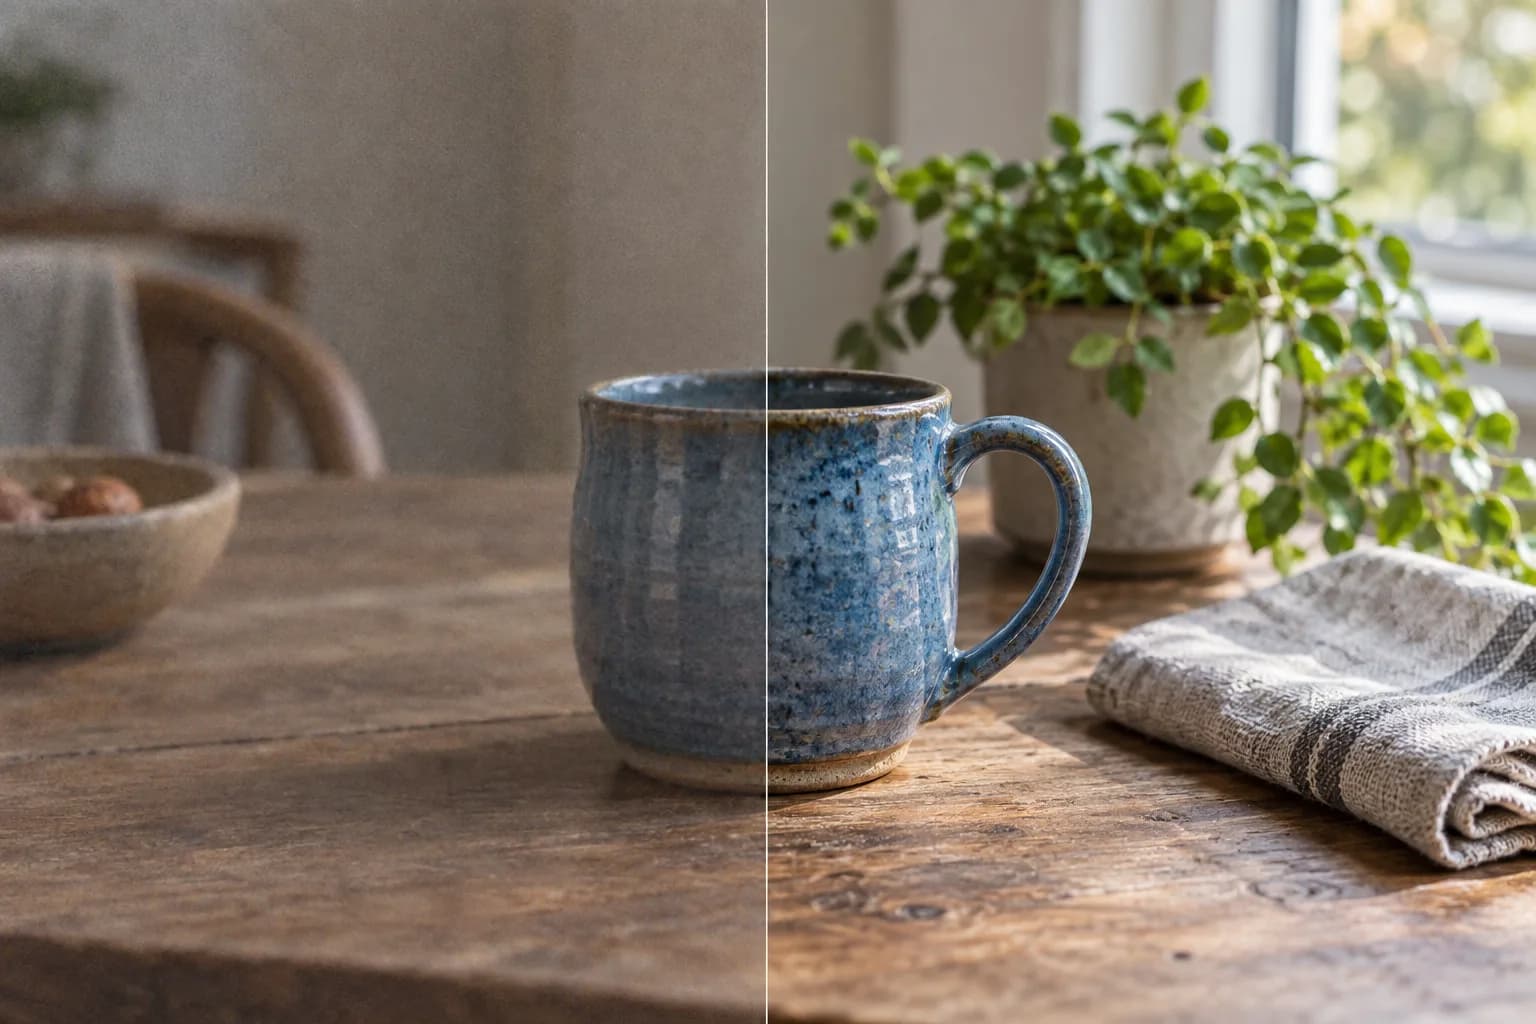
Enhance Photo Quality: Light, Color, Detail
Learn how to enhance photo quality: correct light and color, reduce noise, and refine detail. Compare the original and AI result before downloading your PNG. A…
Read article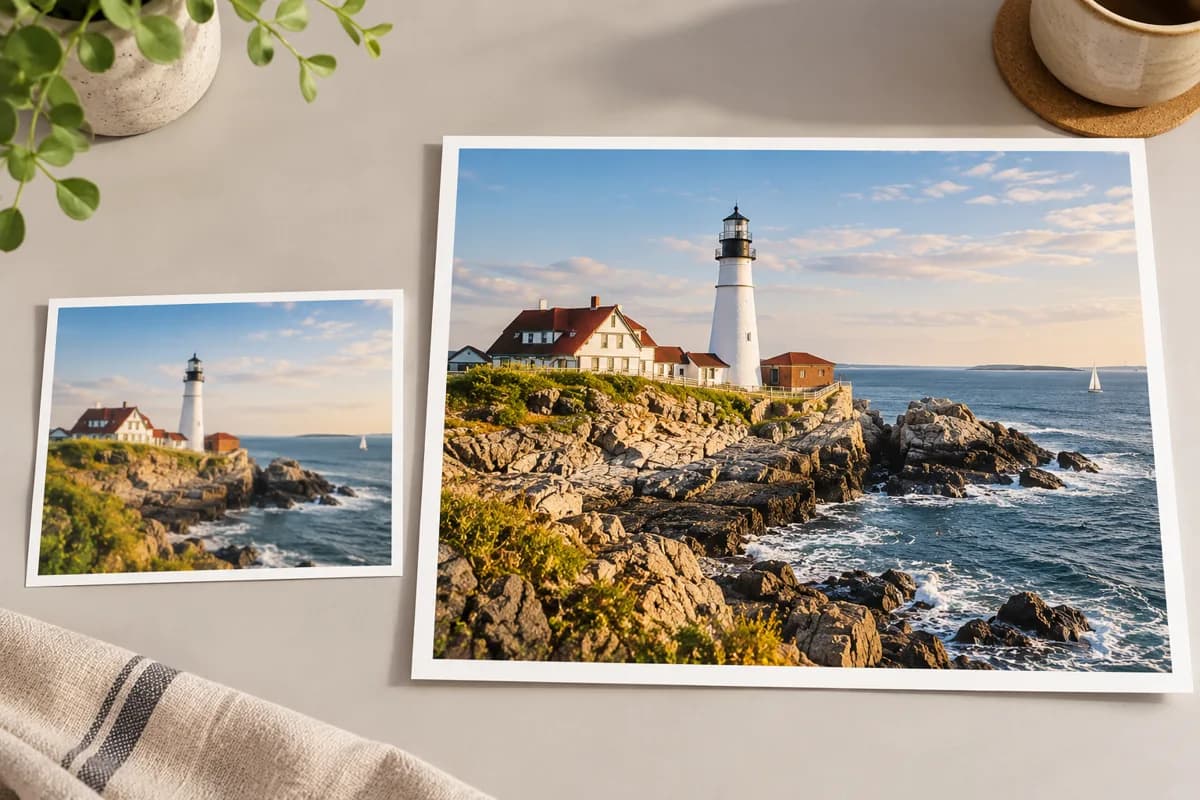
Enlarge and Enhance Photo: Size vs. Detail
Enlarge and enhance photo quality with a clear workflow: check pixel dimensions, improve noise and color, then review the result before your next design…
Read article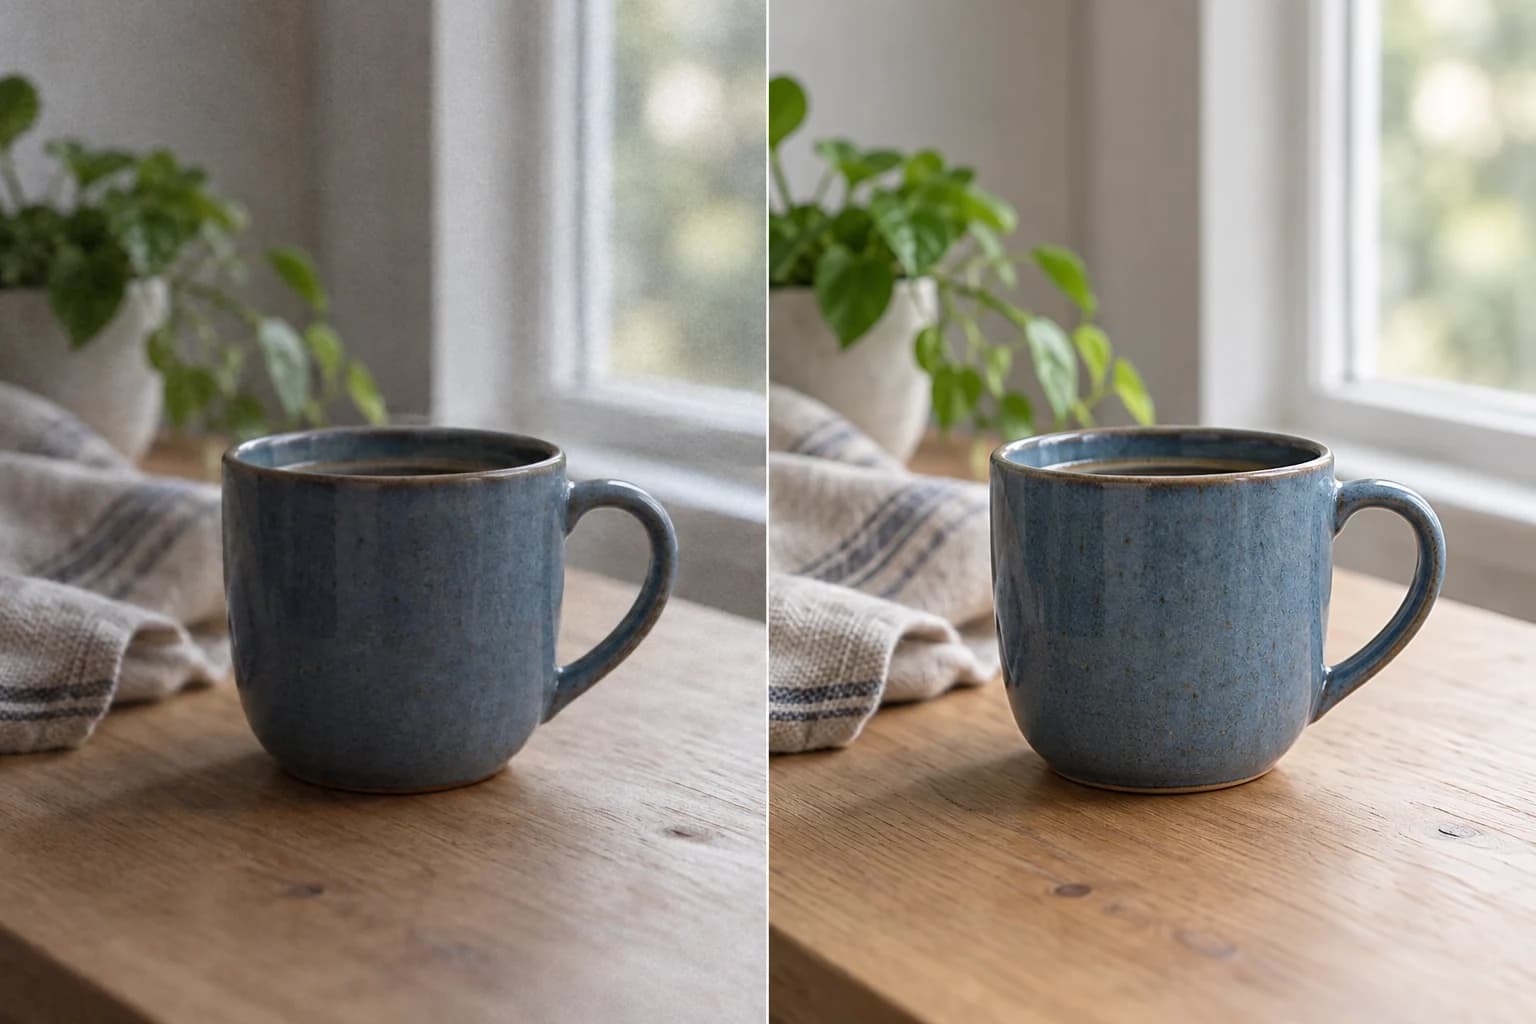
Upgrade Photo Quality: Fix Noise & Color
To upgrade photo quality, start with the visible problem: flat light, noise, compression, or soft detail. Compare the result with the original. A larger file…
Read article