UpScaler.tools blog
ai photo enhancement pricing
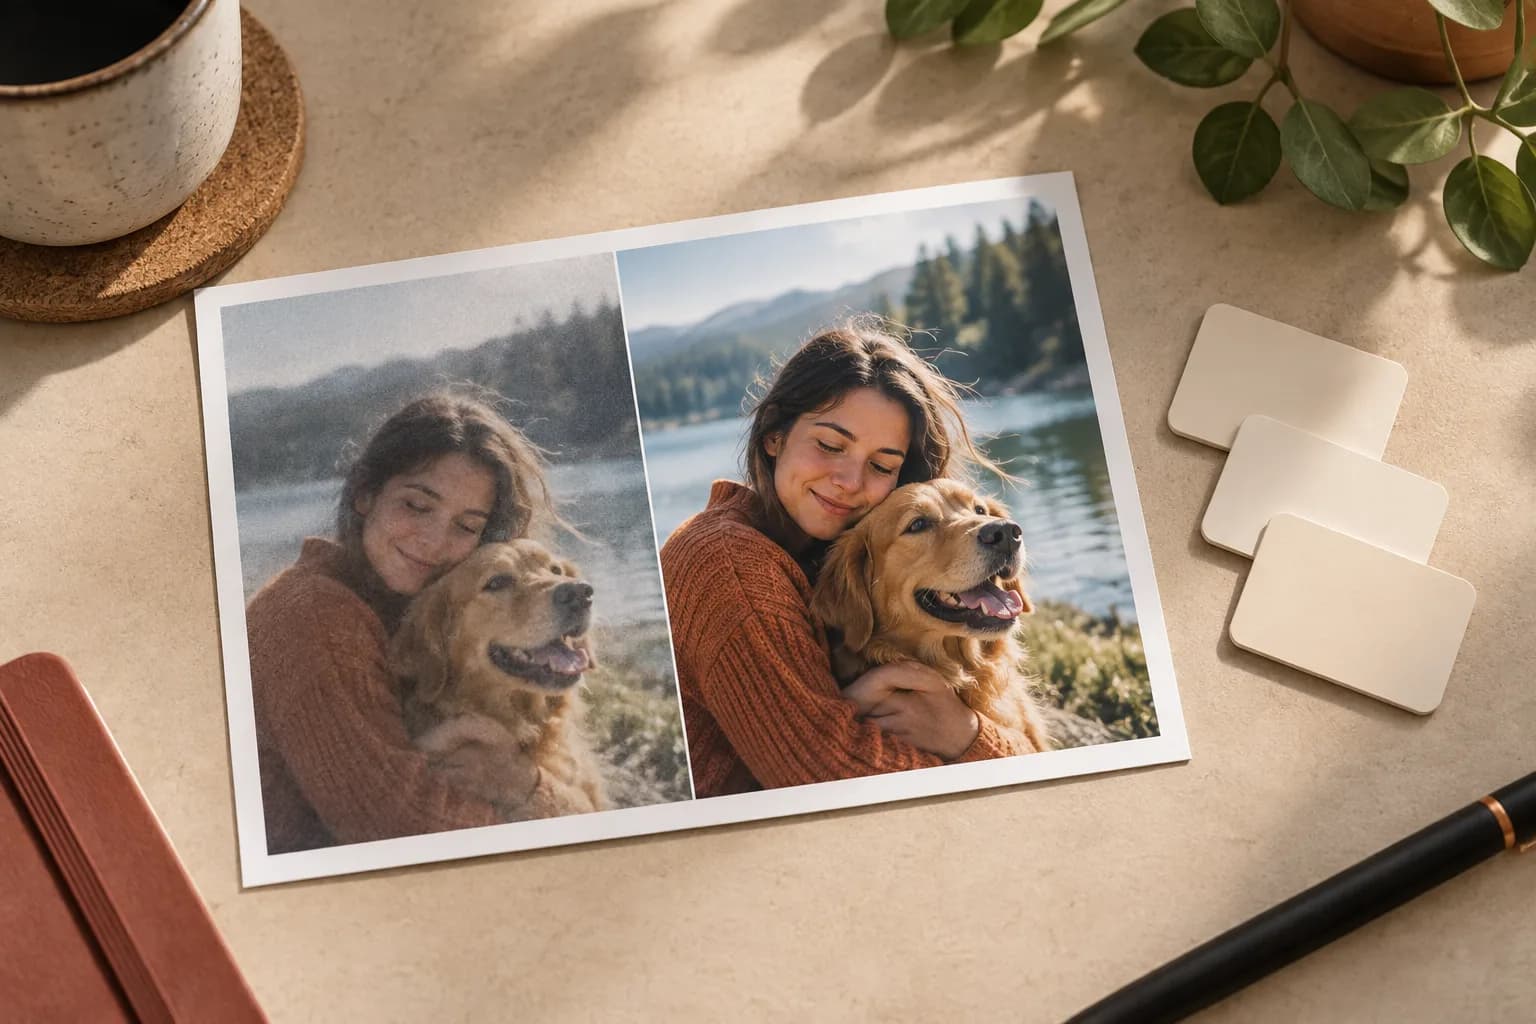
AI photo enhancement pricing is simple to compare: one UpScaler.tools credit covers one completed edit, so your plan can match the images you finish each month.
What are you paying for in AI photo enhancement?
Photo enhancement is not the same job as image enlargement. Enhancement improves the way existing pixels read: it can reduce noise and compression, balance exposure and white balance, restore restrained sharpness, and make natural color easier to judge. Upscaling increases pixel dimensions and may predict new detail. A bigger file is not automatically a cleaner photo.
That distinction matters when you compare prices. A plan that gives you more pixels is not a better deal if your actual problem is a dark, noisy product photo. Likewise, a low-cost enhancement is not useful for a huge banner if the output canvas is still too small. Start with the job, then compare the unit cost.
How to compare AI photo enhancement pricing models
Most services use one of three models:
- Per-image pricing: You pay for each processed file. This suits occasional edits, but the total grows unpredictably with a large queue.
- Subscription credits: You buy a monthly or annual pool and spend credits as you work. The cost per completed image stays clear.
- Output-size tiers: Larger exports cost more. This can be fair for bigger canvases, but it mixes enhancement with upscaling.
UpScaler.tools uses subscription credits. Each completed image operation uses one credit, and a failed attempt returns the reserved credit. Paid plan credits remain available until used; included credits follow their 30-day cycle.
The current plans are sized for different workloads. Starter is $9.99 per month for 50 credits, Premium is $25 per month for 500 credits, and Premium Plus is $39 per month for 1,000 credits. Annual billing is $69, $180, and $280 respectively, with credits added monthly. The pricing page shows the current plans and billing choice before checkout.
What does the Enhance Image tool include?
The AI image enhancer is built for a controlled first pass, not to replace the photograph. It reduces visible noise and compression, refines restrained sharpness and micro-contrast, balances exposure and white balance, and improves natural color only where the source provides evidence.
The instruction preserves identity, facial features, text, objects, geometry, crop, composition, aspect ratio, and original style. It must not invent people, objects, logos, scenery, or details. That is the practical meaning behind an “ai enhance image” workflow: improve the existing scene while keeping it reviewable.
How to use the tool and spend one credit
Use it in five steps:
- Open Enhance Image and sign in before processing.
- Upload one JPG, PNG, or WebP file up to 10 MB.
- Start the enhancement. One completed result uses one credit.
- Drag across the preview. Check faces, small text, product edges, straight lines, and repeated textures.
- Download the result when it passes your review.
The original stays unchanged. Enhance Image returns an approximately 1K PNG for web images, listings, social posts, presentations, archive copies, and print drafts. It does not create a 4K or 16K file. Use image upscaling when the main requirement is a larger canvas.
When one-credit enhancement is a good value
Enhancement makes sense when the source is usable but needs a cleaner presentation. A mildly noisy family photo, compressed product listing, faded scan, or dim room photo may benefit from better light, color, and visible texture. One credit can cover that work alongside other image tasks.
It is not a substitute for a better source. Severe motion blur, unreadable lettering, tiny screenshots, and hidden faces contain too little reliable evidence. Keep the original beside the edited PNG for documents, labels, identity-sensitive images, and archival work.
A practical way to control enhancement costs
Use the cleanest original and process one representative image first. Compare it at 100% zoom and at the final display size. If it fixes the problem without changing the subject, continue with similar files. If you see halos, plastic skin, invented lettering, repeated texture, or a color shift, change the source or workflow instead of repeating the same pass.
This makes AI photo enhancement pricing easier to forecast. You pay one credit for a result you can inspect, keep, or reject with a clear reason.
FAQ: AI photo enhancement pricing
Is AI photo enhancement priced per image?
UpScaler.tools uses credits. Each completed Enhance Image operation uses one credit, so the effective price depends on the plan you choose. Check the current credit plans before you buy.
How many credits does the AI image enhancer use?
One completed enhancement uses one credit. If processing fails, the reserved credit is returned automatically. The same balance covers the other focused image tools.
Does Enhance Image make a photo 4K?
No. Enhance Image returns an approximately 1K PNG and improves perceived quality. Use an image upscaler when you need more pixels, then review the predicted detail.
What files can I upload for AI enhancement?
The tool accepts one JPG, PNG, or WebP image up to 10 MB. Upload the original or highest-quality export, not a screenshot or repeatedly compressed copy.
Try one image before you compare plans
If you are comparing plans, start with the number of images you actually need to finish each month. Then open Enhance Image, test one source, and judge the result before committing the rest of your credits.
Written by upscaler.tools.
how to enhance photo quality
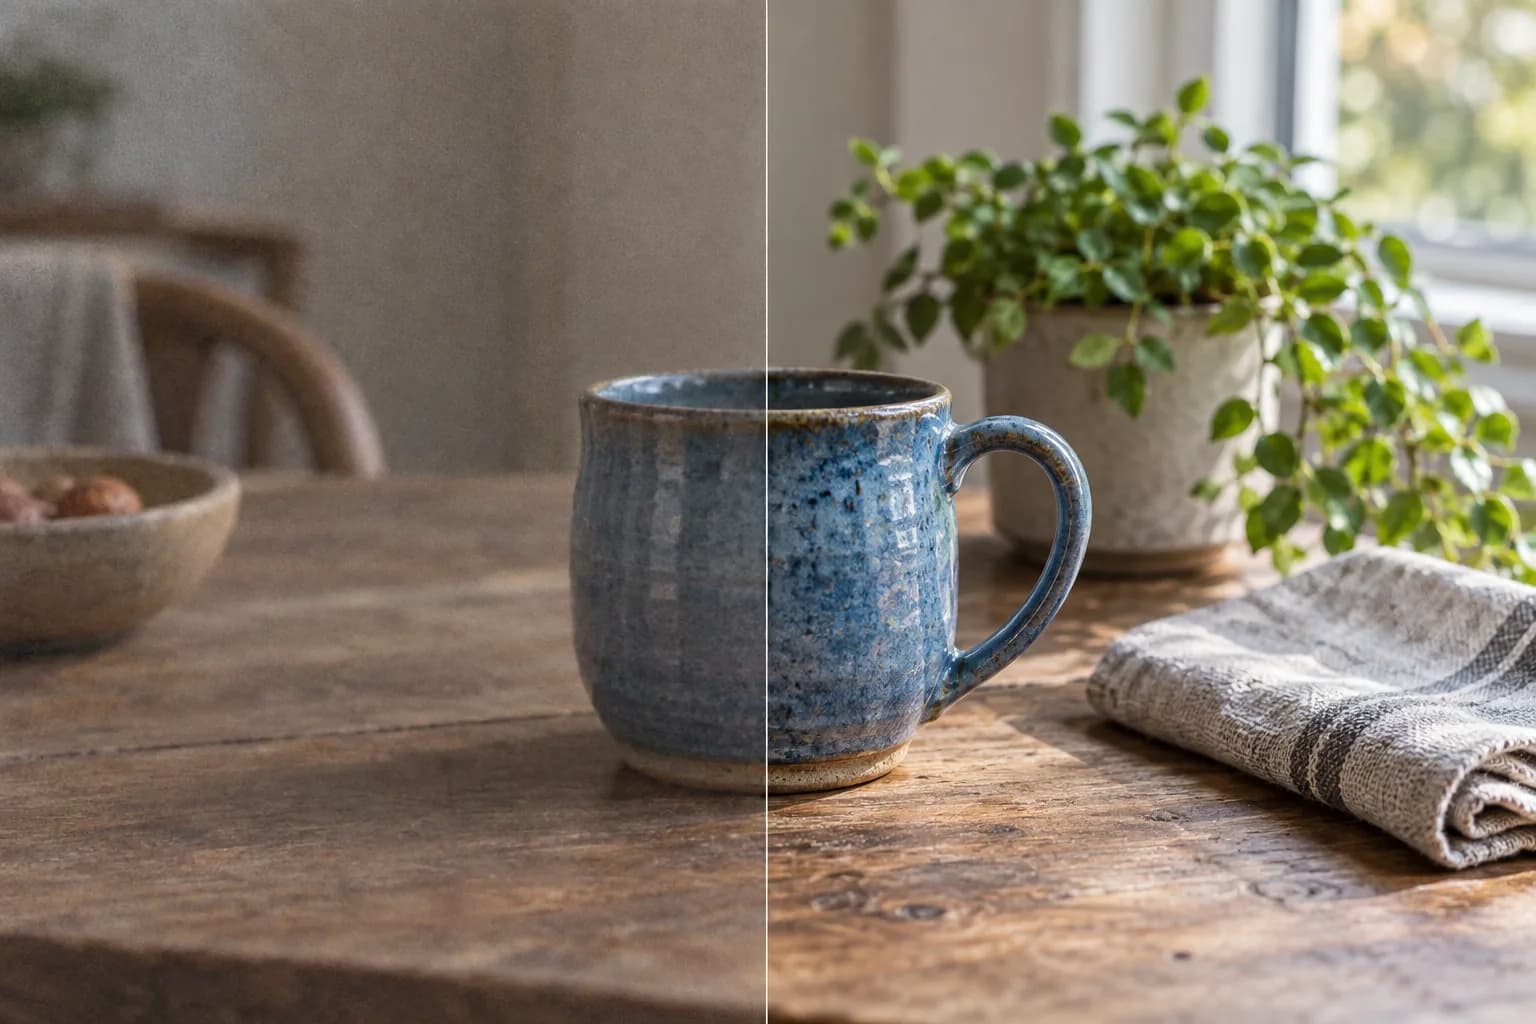
Learn how to enhance photo quality: correct light and color, reduce noise, and refine detail. Compare the original and AI result before downloading your PNG. A…
Read article
how to change the resolution of a picture
Learning how to change the resolution of a picture starts with pixel dimensions, not a DPI box. Here is how to resize, upscale, and export it with confidence.…
Read article
How to Turn Photos into Blurred Backgrounds
Turning a normal photo into one with blurred backgrounds is a controlled edit, not a from-scratch image generation task. You start with a real subject and a…
Read article