UpScaler.tools blog
improve photo quality
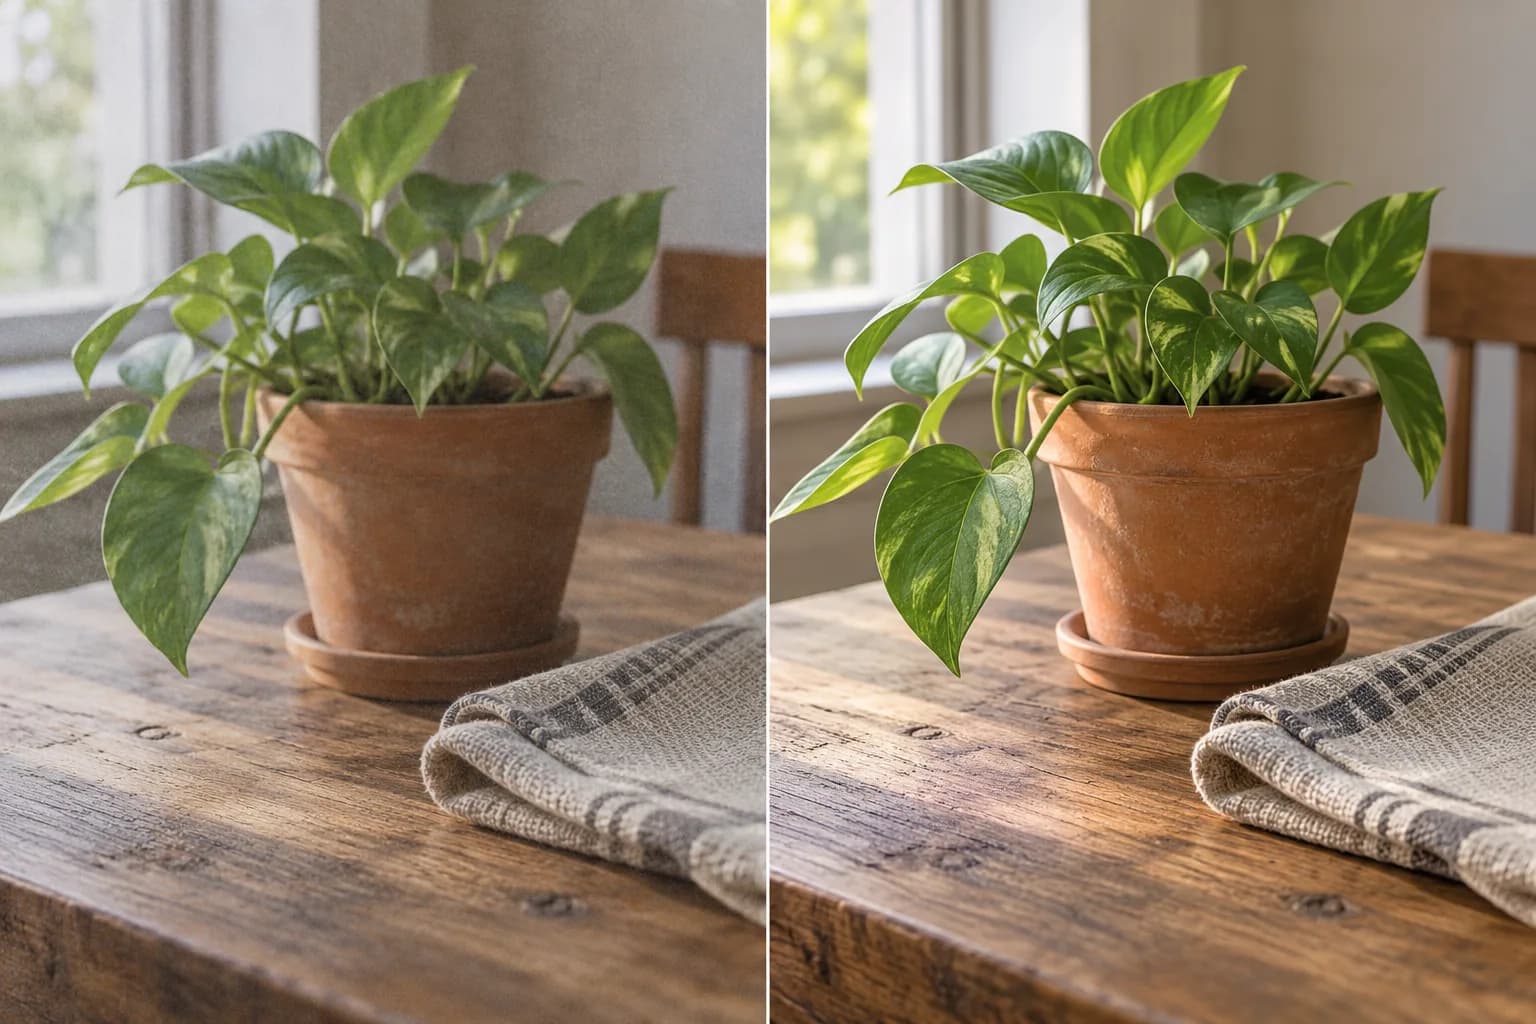
To improve photo quality, identify noise, blur, or poor light first. Learn when to use AI enhancement, compare fine detail, and save a natural-looking result.
A photo can have enough pixels and still look disappointing. Grain hides texture, indoor light shifts colors, and repeated compression smears edges. The useful question is which defect you can reduce without changing what the photograph shows.
The cover is an AI-generated illustration, not an actual UpScaler.tools processing result.
What does it mean to improve photo quality?
Improving photo quality means making a photograph clearer and easier to use while preserving its subject and meaning. Changes can include reducing noise, correcting exposure and white balance, and applying restrained sharpening. Increasing pixel dimensions is a separate task. More pixels alone do not guarantee accurate detail or better focus.
Decide where the image will appear before editing. A product listing needs honest color and clear edges. A family photo needs recognizable faces. A presentation needs readable detail at the size your audience will see. These goals give you a better stopping point than maximum sharpness.
Diagnose the photo before choosing an edit
Open the original camera file or the best available export. A screenshot of a messaging-app copy may have already lost information. Keep an untouched version so you can compare changes and start again if necessary.
| Visible problem | Useful first action | What to inspect |
|---|---|---|
| Dark subject or color cast | Correct exposure and white balance | Skin tones and neutral surfaces |
| Grain or speckled shadows | Reduce noise carefully | Hair, fabric, and fine texture |
| JPEG blocks or ringing | Use a cleaner source, then reduce artifacts | Edges against plain backgrounds |
| Mild softness | Apply restrained sharpening | Bright outlines and artificial texture |
| Too few pixels for the destination | Choose image enlargement | Final dimensions and viewing size |
For a dark indoor portrait, begin with light and color. Strong sharpening can make grain more prominent while leaving the face too dark. For a compressed listing photo, finding the original export may help more than another edit.
Severe motion blur, missed focus, and fully clipped highlights are different problems. An AI tool may produce plausible-looking content, but that does not establish what the camera recorded. Keep originals for documents or other images where accuracy matters.
Enhance photo quality or increase resolution?
Choose enhancement when the image needs cleaner texture, more balanced light, or clearer presentation. Choose upscaling when the destination requires larger pixel dimensions. Adobe's image size and resampling guidance distinguishes resampling, which changes pixel data, from changing print resolution without resampling.
Changing a DPI number alone does not repair blur. For a larger canvas, use the image upscaler and inspect the exported dimensions. For a photo that already fits its destination, judge quality by its appearance and accuracy rather than file size.
Use an ai enhance image workflow for a first pass
The UpScaler.tools AI image enhancer combines common adjustments into a single processing step. Its instruction asks the AI to reduce visible noise and compression artifacts, refine restrained sharpness, and balance exposure, white balance, and natural color.
It also asks the model to preserve faces, text, objects, framing, and the original visual style. These are processing goals, not a guarantee that every pixel will remain accurate. Review the result before publishing it.
- Sign in and upload one image. Use a JPG, PNG, or WebP file up to 10 MB.
- Start processing. Each completed enhancement uses one credit. Failed processing returns the reserved credit automatically.
- Compare the original and result. Drag the preview slider and inspect the details that matter for your photo.
- Download the PNG. The output is approximately 1K. This tool does not provide 4K or 16K enlargement.
For a marketplace image, inspect labels, product edges, and material color. For a portrait, check eyes, teeth, hair, and skin texture. Reject a result that looks attractive but changes an identifying detail.
Check quality at the size people will see
Inspect the image at 100% zoom, then at its intended display size. Look for halos, smeared texture, changed lettering, and unnatural color. A version that looks sharper when enlarged can look harsh as a small thumbnail.
Keep the downloaded result and original separately. Avoid repeated enhancement passes that gradually alter texture. Start with one original in Enhance Image, compare it, and use the version that meets your destination's needs.
FAQ: improve photo quality
Can AI improve photo quality without changing the subject?
It can aim to reduce noise and balance light while preserving the subject. Generative editing can still change details, so compare faces, text, and objects before using the result.
Can Enhance Image fix a badly blurred photo?
Mild softness may improve. Severe blur has no guaranteed recovery because the source may lack usable detail. A plausible reconstruction is not proof of the original scene.
Does a PNG download mean higher resolution?
No. PNG is an output format, not a resolution promise. Enhance Image returns an approximately 1K PNG; use a separate upscaler when you need larger dimensions.
What does it cost to improve photo quality here?
Each completed Enhance Image task uses one credit. Sign-in is required for processing, and failed processing returns the reserved credit. See pricing for credit plans.
Written by upscaler.tools.
how to clear the background of an image
Learn how to clear the background of an image: remove distractions while keeping the scene, or make a transparent cutout. Choose the right method before…
Read article
ai photo enhancement pricing
AI photo enhancement pricing is simple to compare: one UpScaler.tools credit covers one completed edit, so your plan can match the images you finish each…
Read article
how to enhance blurry pictures
To enhance blurry pictures, first identify whether the softness comes from focus, motion, noise, or compression. Then restore useful detail conservatively and…
Read article