UpScaler.tools blog
how to remove something from a picture

Learn how to remove something from a picture: choose cropping, healing, or AI erasing, then check edges, shadows, and texture before saving your edited photo.
To remove an unwanted object while keeping the full picture, select the object in an image eraser, let the tool fill the selected area, and inspect the replacement. Crop instead when the distraction sits at the edge and you can spare that part of the frame. Neither method can recover a hidden detail with certainty.
This guide is for editing everyday pictures: a cable beside a product, litter on a path, or a sign interrupting a view. The useful question is not just what you want gone. It is what must replace it, and which nearby details must survive.
The cover is an AI-generated concept illustration, not an actual UpScaler.tools processing result. It shows the intended edit, not a measured quality benchmark.
Choose the removal method by the background
Object removal replaces part of a photograph. It differs from background removal, which separates the main subject from the entire backdrop, often leaving transparency. If you want to keep the scene and remove one distraction, use a local repair method.
| What is in your picture? | Method to consider | What you give up or need to check |
|---|---|---|
| An unwanted item at the outer edge | Crop | You lose part of the frame and some image dimensions. |
| A small speck on an otherwise consistent surface | Healing brush | Blending can smear a nearby edge or borrow the wrong texture. |
| An object surrounded by visible background | AI object eraser | The replacement is inferred and needs inspection. |
| A cable crossing a straight seam or repeating pattern | Clone or manual retouching | You must align the copied detail yourself. |
| An object hiding essential lettering or part of the main subject | Another original photo or a reshoot | A fill cannot establish what the hidden content actually was. |
Healing tools blend a repair with its surroundings. A clone stamp copies pixels from a source area you choose, which gives more control over a specific edge but can introduce obvious repetition. AI erasing is useful when you want a plausible continuation of the scene without building every patch manually.
For example, removing a bottle against an open patch of pavement is a different job from removing that bottle in front of a label. In the second case, a clean-looking result may still contain invented letters. Decide whether visual plausibility is sufficient before editing.
How to select something without damaging nearby detail
Keep an untouched original and work from the highest-quality copy available. A screenshot of a photo adds another layer of resizing and compression, making small borders harder to distinguish. Before drawing a selection, identify both the unwanted object's boundary and the nearest detail that must remain intact.
Cover the whole object, including thin protrusions. On a charging cable, that means the connector as well as the wire. A narrow unselected strip can remain as a colored fringe after the center disappears. Leave a modest margin around the outline, but do not turn a small distraction into a large rectangular hole.
Include the object's own shadow when removing it would otherwise leave a dark mark with no visible cause. Preserve shadows belonging to the subject you are keeping. Where two shadows overlap, the repair becomes ambiguous: the editor must infer how the remaining shadow should continue.
Treat separate distractions as separate selection decisions. You may be able to submit several selected regions together, but each region still needs a clear boundary. When assessing a difficult edit, starting with one object makes it easier to understand which selection caused the problem.
Example: remove a cable beside a product
The cover illustrates a useful beginner case: a red cable on a gray tabletop, with space between the cable and the vase. The visible tabletop provides context for the fill. The vase's silhouette and its shadow are the details to protect.
- Trace the cable and connector. Include the cable's small shadow, while leaving the vase and its shadow outside the selection.
- Check the space inside the coil. Preserve clean tabletop where practical. If your brush cannot follow the narrow gaps accurately, inspect that whole region especially carefully after processing.
- Compare the tabletop tone. A repair can remove the red object yet leave a lighter island or a soft patch. Follow the light falloff across the entire table, not just the former cable position.
- Check the vase outline. Compare the original and edit at the same scale. If the base has changed shape, return to the original and tighten the selection near it.
Now imagine the same cable crossing the vase itself. The fill must invent part of the vase, not just the table. If the photograph documents the product's actual shape or condition, use another shot instead of accepting a convincing reconstruction.
Fix the cause when an object removal looks wrong
A second attempt is most useful when you change something specific. Repeating the same broad selection does not tell you whether the problem was an uncovered edge, unsuitable background context, or detail that was never visible.
| What you see after removal | What to inspect | Next action |
|---|---|---|
| A red or dark outline remains | Was part of the object's edge outside the selection? | Return to the original and extend the mask just past that edge. |
| A floating shadow or reflection | Was the object's trace left unselected? | Include that trace where it can be separated from the subject's own lighting. |
| Bent grout, a broken horizon, or a warped shelf | Does a straight line pass through the repair? | Use controlled cloning or choose a crop if the generated continuation stays wrong. |
| An obvious smooth patch in textured ground | Was too much surrounding texture selected? | Reduce the unnecessary selection and compare at full size. |
| Repeated bricks or foliage | Does the replacement repeat a distinctive shape? | Try a different repair method or a different original. |
| Changed lettering or an altered product edge | Did the object cover information that matters? | Use a source where that detail is visible; do not treat generated detail as recovered evidence. |
Review the downloaded image at 100% scale for small artifacts, then at the size people will actually view it. The first catches fringes and soft patches; the second reveals whether the composition or lighting now looks strange. Keep the original and the edited export as separate files.
How to remove something with UpScaler.tools
The AI image eraser for removing unwanted objects is a browser editor with a painted selection. It accepts one JPG, PNG, or WebP up to 10 MB. Sign in before processing; one erase task uses 1 credit, and failed processing returns the reserved credit. Review the current credit options before submitting additional attempts.
- Choose an image. Upload the original you want to edit.
- Paint to remove. Adjust Brush size and cover the unwanted item using the selection guidance above.
- Correct the selection. Use Restore to remove paint from details you want to keep. Undo, Redo, and Clear mask help correct the mask before submission.
- Erase selected area. Submit the image and selection for processing.
- Inspect and export. Use the comparison slider, then select Download PNG. Open that PNG in an image viewer for a full-size check.
The editor does not include zoom, pan, a clone stamp, or batch editing. If a narrow cable cannot be selected accurately at the displayed size, a desktop editor with zoom and manual retouching controls may be a better fit. The Restore control corrects the selection; it does not reconstruct missing detail in an already processed image.
Removing something on a phone or in Photoshop
In Google Photos on Android, open the photo and enter the editing controls. Google's current help places Magic Eraser under Actions for removing distractions. Review any suggested selection, or select the unwanted area manually, then review the edit before saving. Interface availability can vary; follow the Google Photos editing instructions for your device.
In Photoshop on desktop, select the Remove tool and mark the unwanted area. Adobe recommends a brush slightly larger than the area being repaired; its Create new layer control applies the removal to a separate layer. For version-specific controls, see Adobe's object removal instructions. Manual tools are useful when a repair needs precise alignment with nearby geometry.
Whichever editor you choose, judge the result against the original. Google's explanation of Magic Eraser describes predicting replacement pixels. A predicted background is not a view through the removed object.
Frequently asked questions
How do I remove something from a picture for free?
A crop in a basic photo editor can remove an edge distraction without using an AI service. For an object inside the frame, check whether your existing photo app includes a removal tool and whether it has usage limits. UpScaler.tools uses 1 credit per erase task; do not assume repeated attempts are free.
Can I remove something without changing the background?
Removing an object inside the frame requires replacing its pixels. You can aim to preserve the surrounding background, but the filled area is a reconstruction. Cropping avoids replacement pixels at the cost of losing part of the picture.
Can I remove text from a picture?
You can select unwanted text on an image you own or have permission to edit. Text over a plain surface is easier to assess than text covering a face or detailed pattern. If you have the layered source file, hide or delete its text layer instead; that preserves the underlying image without an estimated fill.
What if the unwanted object is a person?
The same selection principles apply, but hair, bags, body overlap, and reflections introduce additional boundaries. Use the dedicated guide to removing people from photos for those cases. For an isolated object with a visible background around it, open the online object removal editor and start with one carefully selected area.
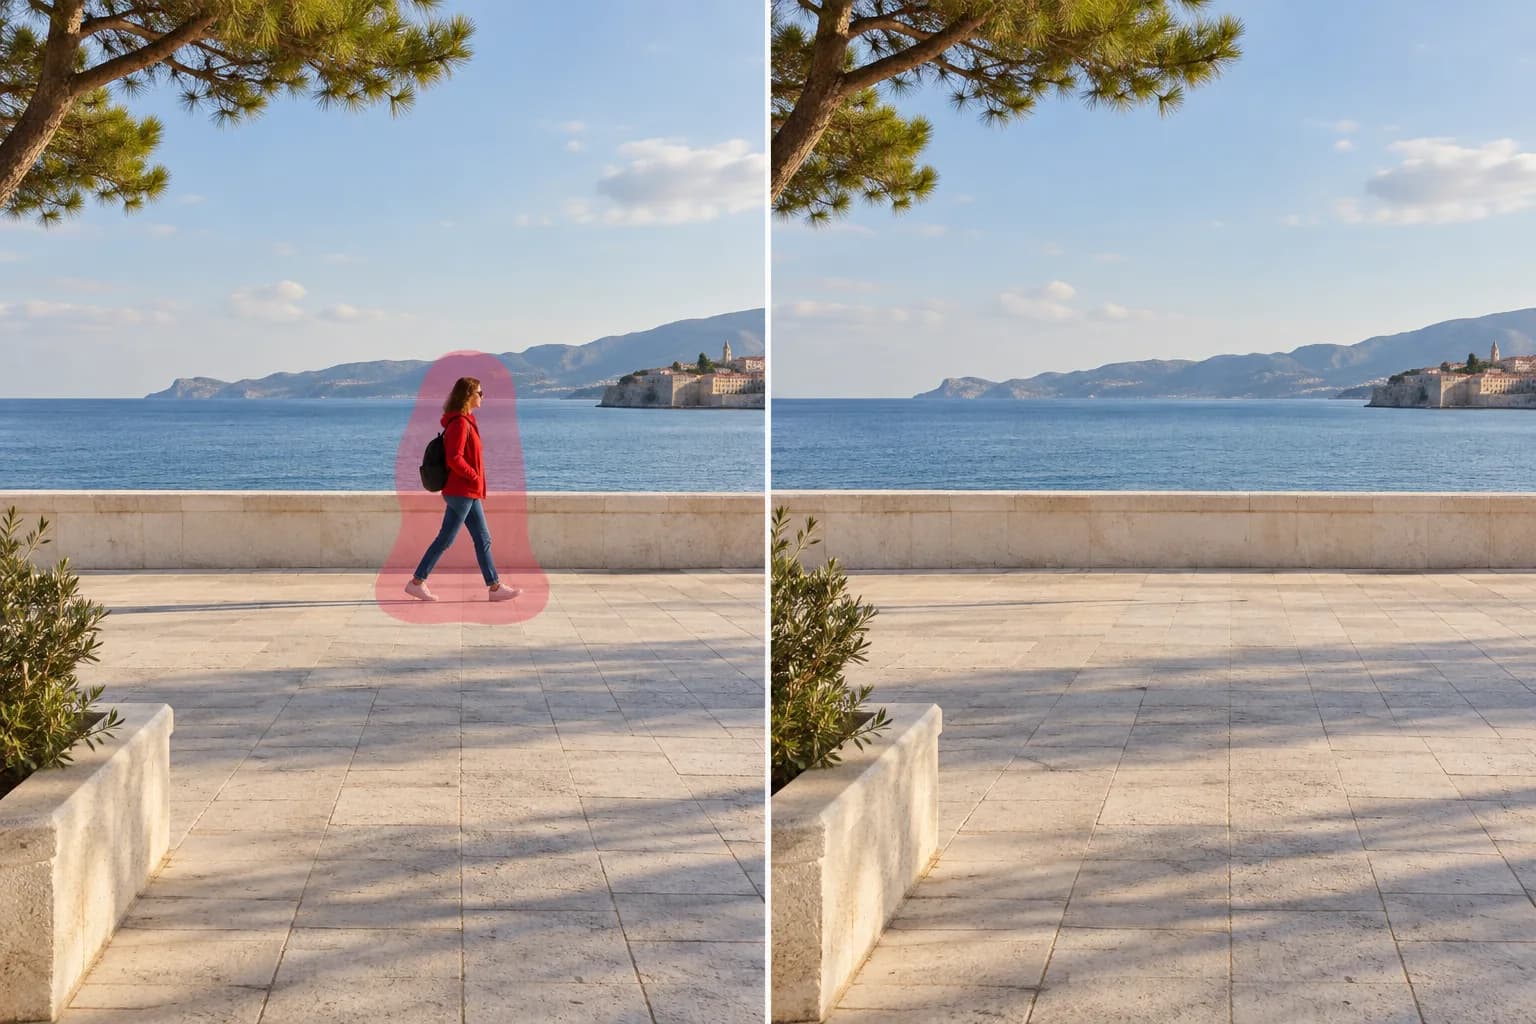
how to remove people from photos
Learn how to remove people from photos: select the unwanted person, fill the area with an AI image eraser, and check the background before saving. For travel…
Read article
how to enhance blurry pictures
To enhance blurry pictures, first identify whether the softness comes from focus, motion, noise, or compression. Then restore useful detail conservatively and…
Read article
How to Turn Photos into Blurred Backgrounds
Turning a normal photo into one with blurred backgrounds is a controlled edit, not a from-scratch image generation task. You start with a real subject and a…
Read article