UpScaler.tools blog
how to enhance photo quality
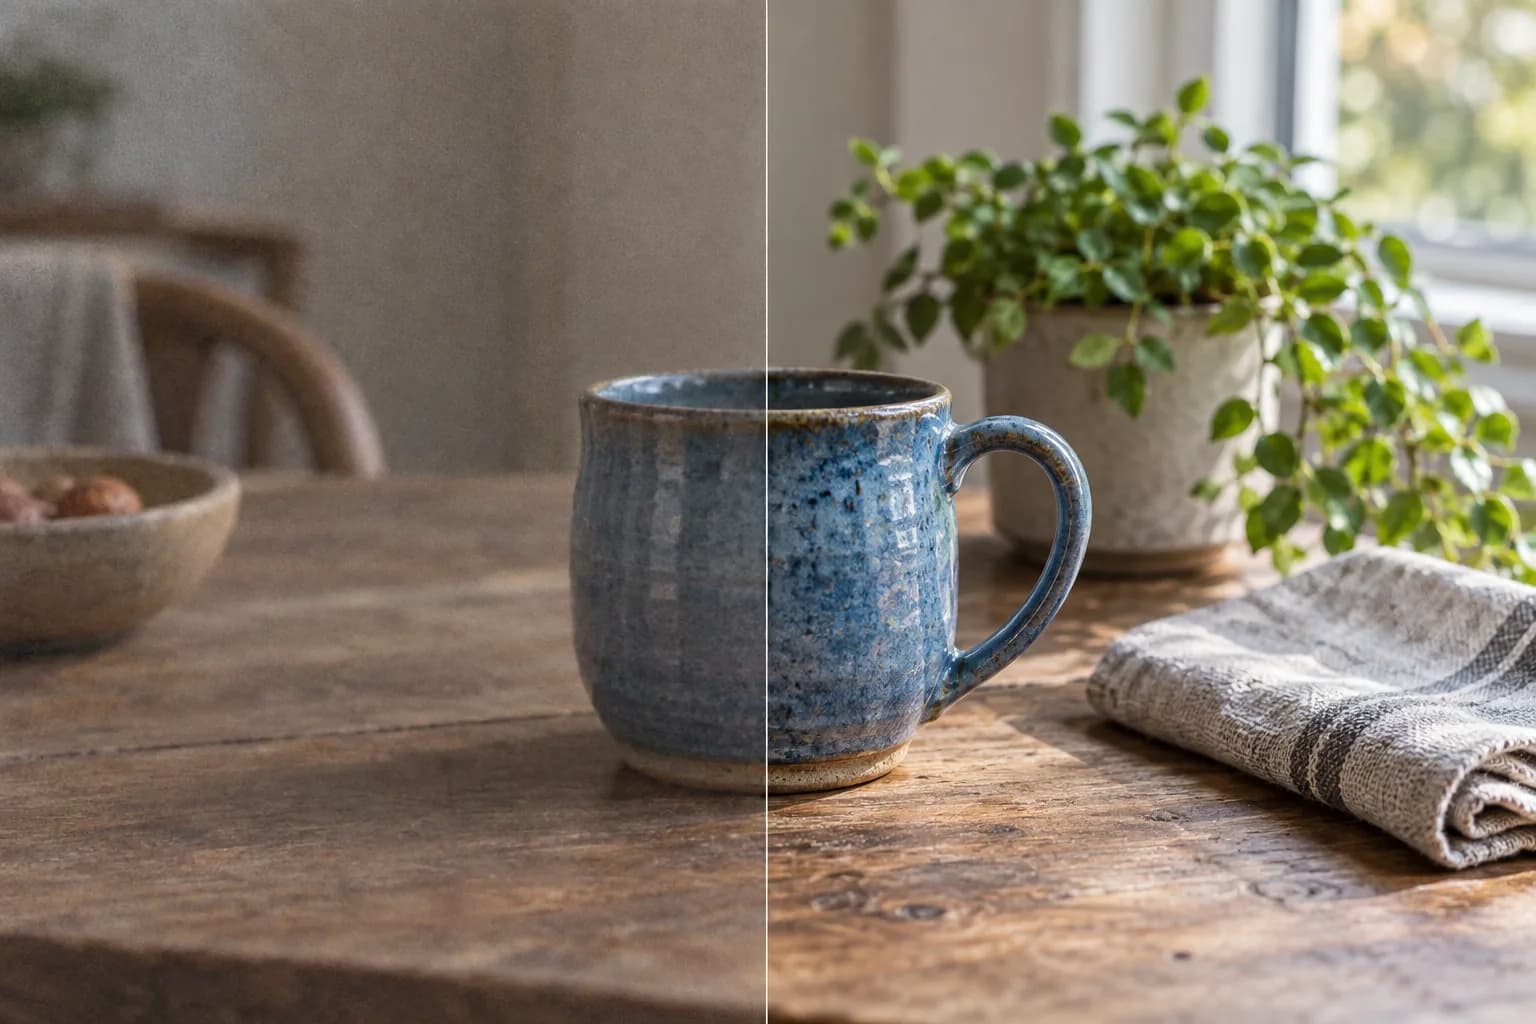
Learn how to enhance photo quality: correct light and color, reduce noise, and refine detail. Compare the original and AI result before downloading your PNG.
A photo can have enough pixels and still look dull, grainy, or unnatural. For product listings, family pictures, and social posts, identify the visible problem before choosing an edit.
The cover is an AI-generated illustration, not an actual UpScaler.tools processing result.
What does enhancing photo quality mean?
Photo enhancement improves how an image looks through exposure, color, noise reduction, and restrained sharpening. Upscaling increases pixel dimensions. These tasks overlap, but a larger file does not automatically have better light, cleaner texture, or more accurate color.
For example, a dim product photo may need brighter midtones and a neutral white balance. Adding sharpness alone can make its grain more obvious while leaving the product difficult to see.
Start with the best source photo
Use the original camera file or highest-quality export you have. Screenshots and copies saved through messaging apps may contain compression artifacts. Keep an untouched copy so you can compare changes and retry without processing an already edited result.
Choose the destination first. A small profile picture and a full-page print need different pixel dimensions. Check the intended display size before spending time on details that viewers will never see.
Improve light, color, and detail in order
When editing manually, start with exposure. Lift dark areas carefully and check that bright surfaces still show texture. Correct unwanted color casts using something that should look neutral, such as a white wall or gray fabric.
Reduce noise before sharpening. Noise reduction can soften fine texture, while sharpening can exaggerate grain. Adjust both conservatively and inspect hair, fabric, and object edges at 100% zoom.
Avoid judging quality by saturation alone. Stronger color may look striking on a phone but misrepresent skin tones or merchandise. For a product listing, the item's actual appearance matters more than a dramatic edit.
Use an AI enhance image workflow online
For an automatic first pass, the UpScaler.tools AI image enhancer combines these adjustments in one operation. It is instructed to reduce visible noise and compression, refine restrained sharpness, and balance exposure, white balance, and natural color.
- Choose your photo. Upload one JPG, PNG, or WebP file up to 10 MB.
- Sign in and start enhancement. Each completed enhancement uses one credit. Failed processing returns the reserved credit.
- Compare the versions. Move the comparison slider to inspect the original and generated result.
- Download the PNG. Save the approximately 1K output separately and check it at full size in an image viewer.
The tool aims to preserve faces, text, objects, framing, and the original style. These are processing instructions, not guarantees. Reject results with changed lettering, altered facial features, invented texture, or bright outlines around edges.
Questions about improving photo quality
Can AI fix a very low-quality photo?
AI can improve the appearance of some noisy, compressed, or mildly soft photos. Severe blur and missing detail limit accuracy. Generated detail is an estimate, so keep the source when identity or factual accuracy matters.
Does this enhancer make photos 4K?
No. Enhance Image returns an approximately 1K PNG. Use the separate image upscaler when increasing pixel dimensions is the main requirement, then inspect the output for your intended use.
Should I enhance the same photo repeatedly?
Compare one pass first. Repeated processing can compound changes and produce unnatural texture. If the result looks wrong, return to the original or make targeted manual adjustments instead.
Open the photo quality enhancer with one image, then compare its light, color, and texture before keeping the edit.
Written by upscaler.tools.
how to remove something from a picture
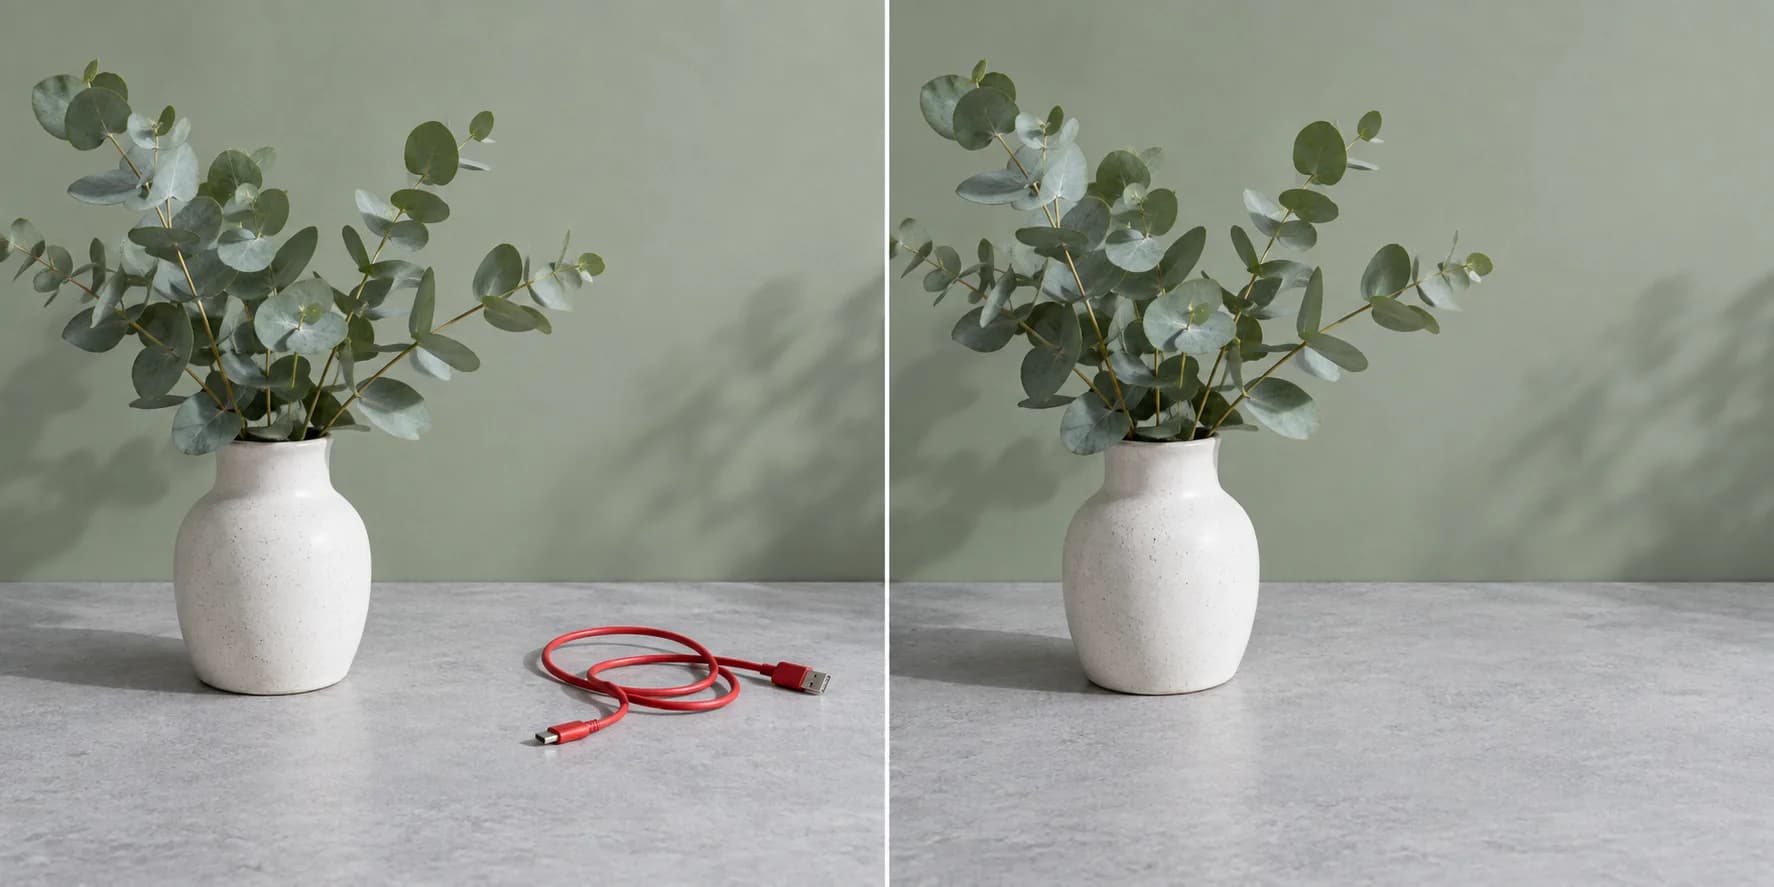
Learn how to remove something from a picture: choose cropping, healing, or AI erasing, then check edges, shadows, and texture before saving your edited photo.…
Read article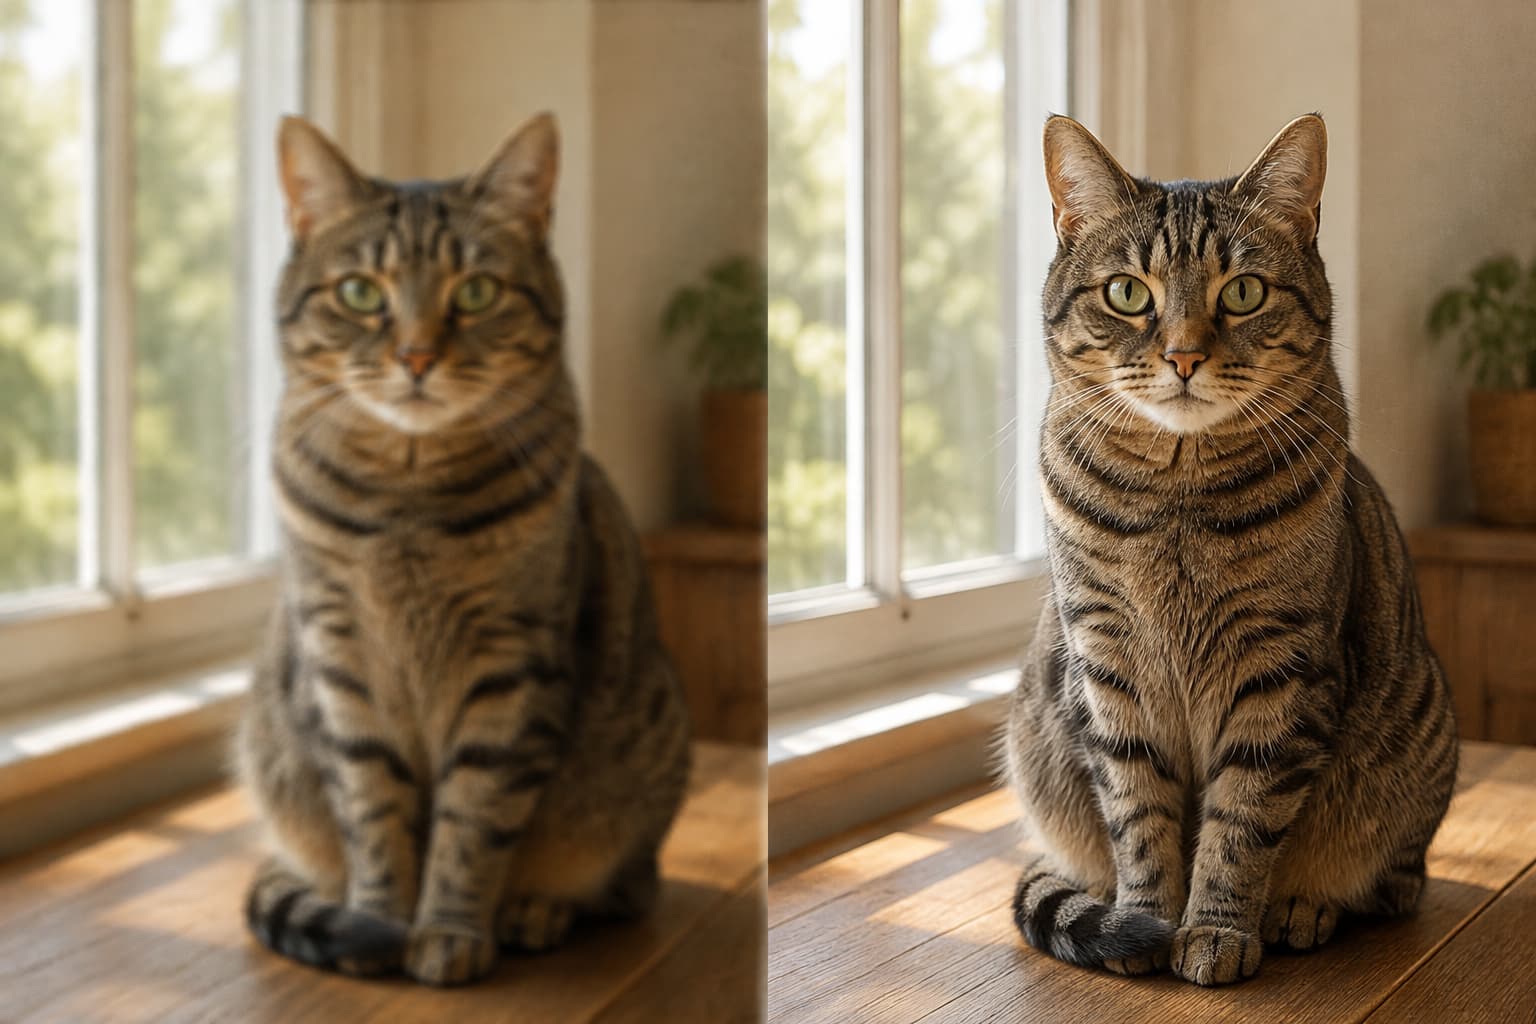
how to enhance blurry pictures
To enhance blurry pictures, first identify whether the softness comes from focus, motion, noise, or compression. Then restore useful detail conservatively and…
Read article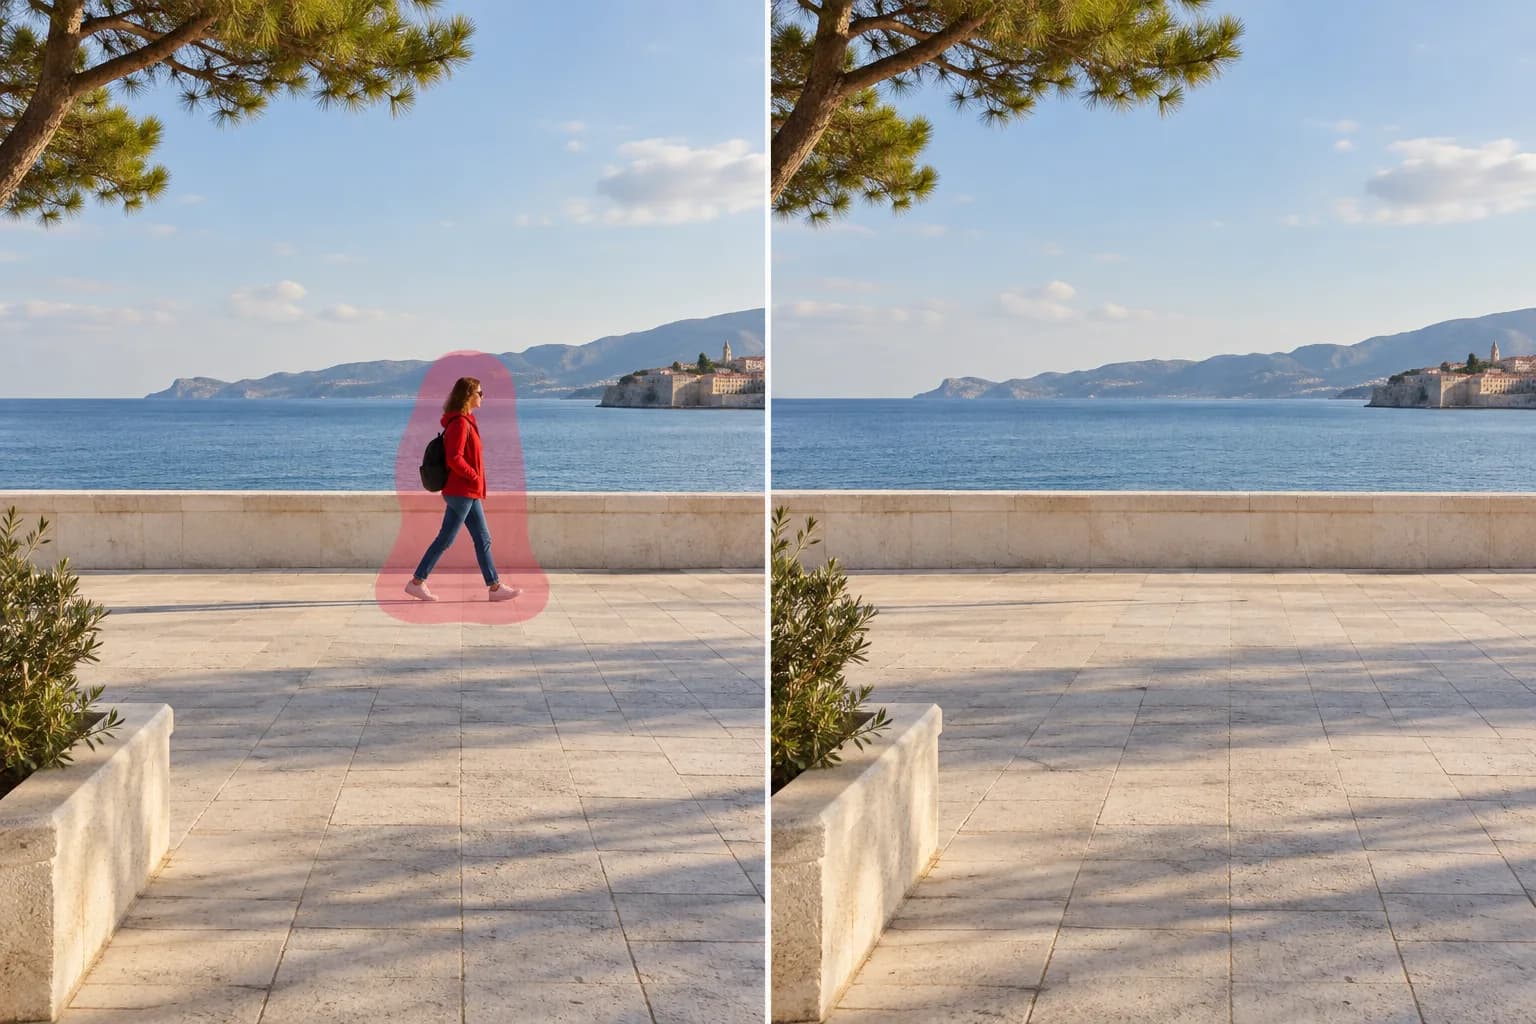
how to remove people from photos
Learn how to remove people from photos: select the unwanted person, fill the area with an AI image eraser, and check the background before saving. For travel…
Read article