UpScaler.tools blog
how to clear the background of an image
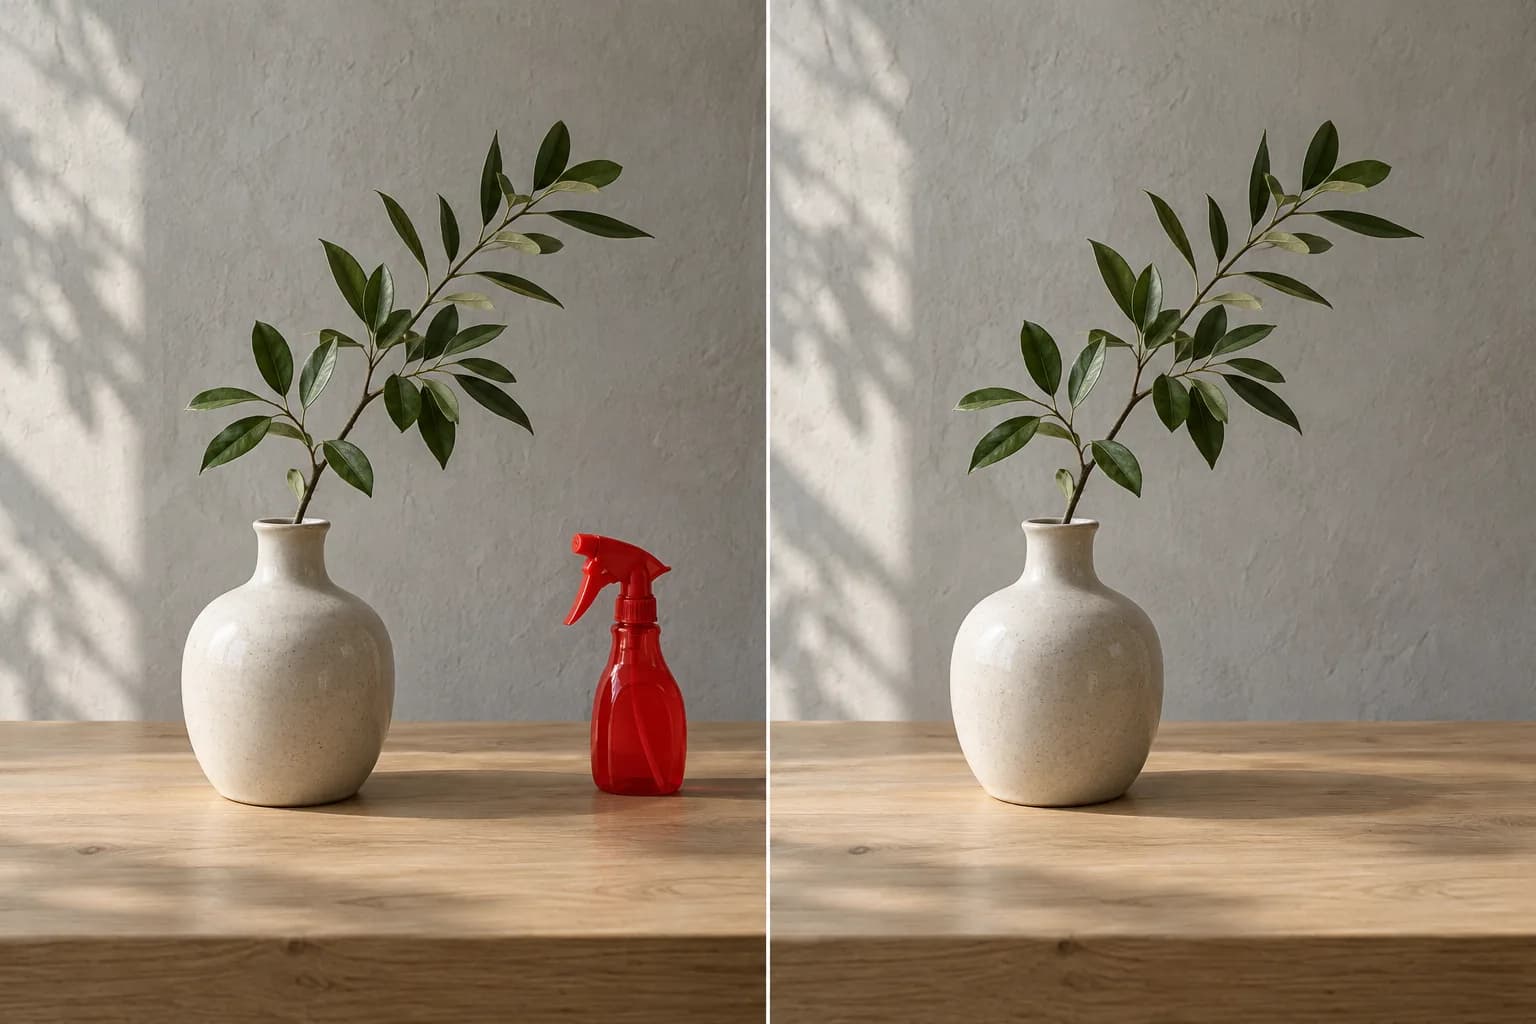
Learn how to clear the background of an image: remove distractions while keeping the scene, or make a transparent cutout. Choose the right method before editing.
A bottle beside a vase and an entire wall behind a portrait need different edits. Decide what must stay before selecting anything. This guide covers both outcomes, with a practical workflow for cleaning a background without deleting it.
Written by upscaler.tools.
The cover is an AI-generated illustration, not an actual UpScaler.tools processing result.
What does clearing an image background mean?
Clearing a background can mean removing everything around the subject or removing selected distractions within the scene. Background removal creates a cutout. Object removal fills the selected area with a plausible continuation of nearby colors and textures. A cleaner background can still be fully opaque.
Choose a transparent cutout for a product placed in a new layout. Choose selective cleanup when the existing table, landscape, or room matters to the picture. If an unwanted detail sits near the edge, a crop may solve the problem without generating new pixels.
Choose between transparency and background cleanup
Use the intended output to choose your method:
| Desired result | Editing method | What to check |
|---|---|---|
| A subject with no surrounding scene | Background removal | Hair, handles, and transparent edges |
| The same scene with fewer distractions | AI object erasing | Rebuilt texture, shadows, and straight lines |
| A simpler frame without reconstruction | Cropping | Subject spacing and remaining dimensions |
For transparency, use the background remover and keep the transparent PNG output. JPEG cannot preserve transparent pixels. A white backdrop is also different from transparency: white pixels remain visible when you place the image on a colored page.
For selective cleanup, inspect what surrounds the unwanted object. Plain walls and open surfaces provide clearer context than fences, lettering, or overlapping hair. An AI fill estimates missing content; it does not recover a verified view of whatever was hidden.
Prepare the image before you erase anything
Keep the original and work from the largest useful source available. Avoid repeated screenshots or compressed copies that make edges harder to judge. Identify the subject's outline, then decide whether the distraction's shadow or reflection also needs removal.
Consider a vase photographed beside a spray bottle. Removing only the bottle can leave a shadow that looks disconnected from the scene. Including that shadow makes sense, but painting over the vase's own shadow can make the vase appear to float.
Use an AI eraser image workflow for selected objects
For this kind of cleanup, the UpScaler.tools AI Image Eraser lets you paint the area to remove. It accepts one JPG, PNG, or WebP up to 10 MB and produces a PNG. Processing requires sign-in and uses one credit per submitted image and mask.
- Upload your image. Start with a photo where the object and its surrounding background are easy to distinguish.
- Paint the distraction. Select Paint to remove, adjust the brush size, and cover the object slightly beyond its edge. Include unwanted shadows where appropriate.
- Correct the selection. Use Restore for areas painted by mistake. Undo, Redo, and Clear mask help you revise the mask before processing.
- Run and review. Select Erase selected area, compare the original and result with the slider, and download the PNG when the repair looks acceptable.
The mask tells the tool where to edit. Inspect the reconstructed area and nearby subject edges before accepting the result. Failed processing returns the reserved credit. The editor does not include batch editing, zoom, or pan.
FAQ: clearing image backgrounds
Does downloading a PNG make the background transparent?
No. PNG supports transparency, but an eraser's PNG can contain a complete, opaque scene. Use background removal when you need a cutout.
Can I clear a background without removing the subject?
Yes. Select only the unwanted background objects. Keep the mask away from the subject and correct accidental strokes before processing.
Why does the repaired background look unnatural?
The selection may leave object edges behind, or the hidden area may contain complex patterns. Revise the mask and inspect lines, reflections, and texture transitions.
What should I check before sharing the result?
Open the downloaded image at full size, then at its intended display size. Check subject edges and repaired shadows. Start with one distraction in the AI Image Eraser, then compare before saving.
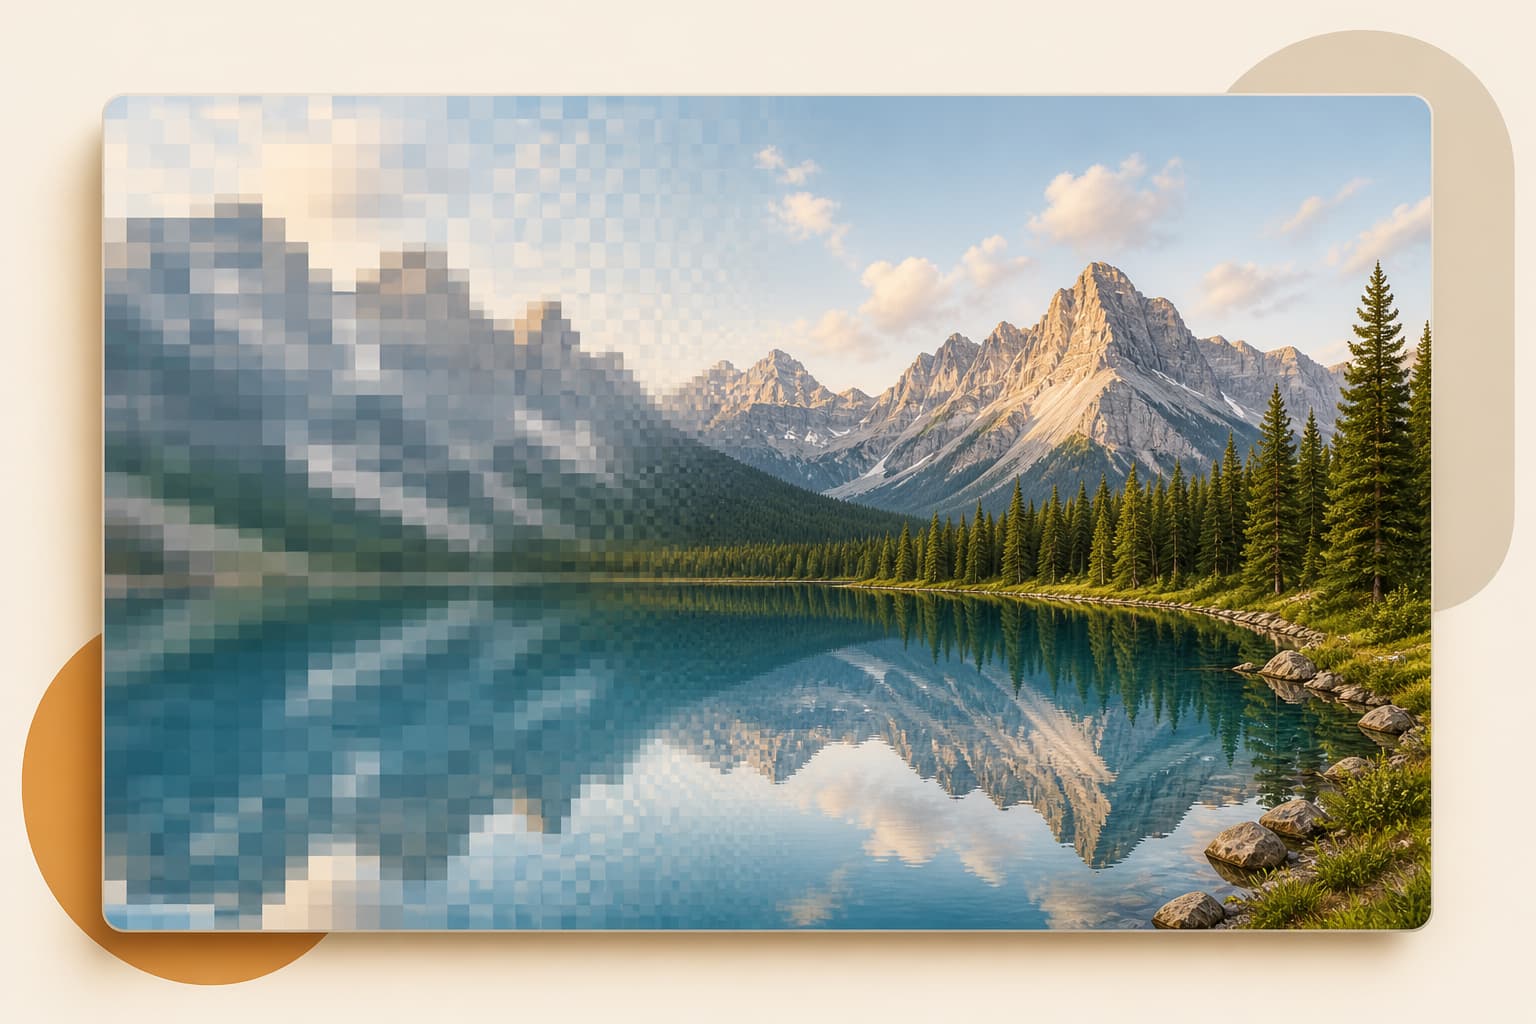
how to change the resolution of a picture
Learning how to change the resolution of a picture starts with pixel dimensions, not a DPI box. Here is how to resize, upscale, and export it with confidence.…
Read article
ai photo enhancement pricing
AI photo enhancement pricing is simple to compare: one UpScaler.tools credit covers one completed edit, so your plan can match the images you finish each…
Read article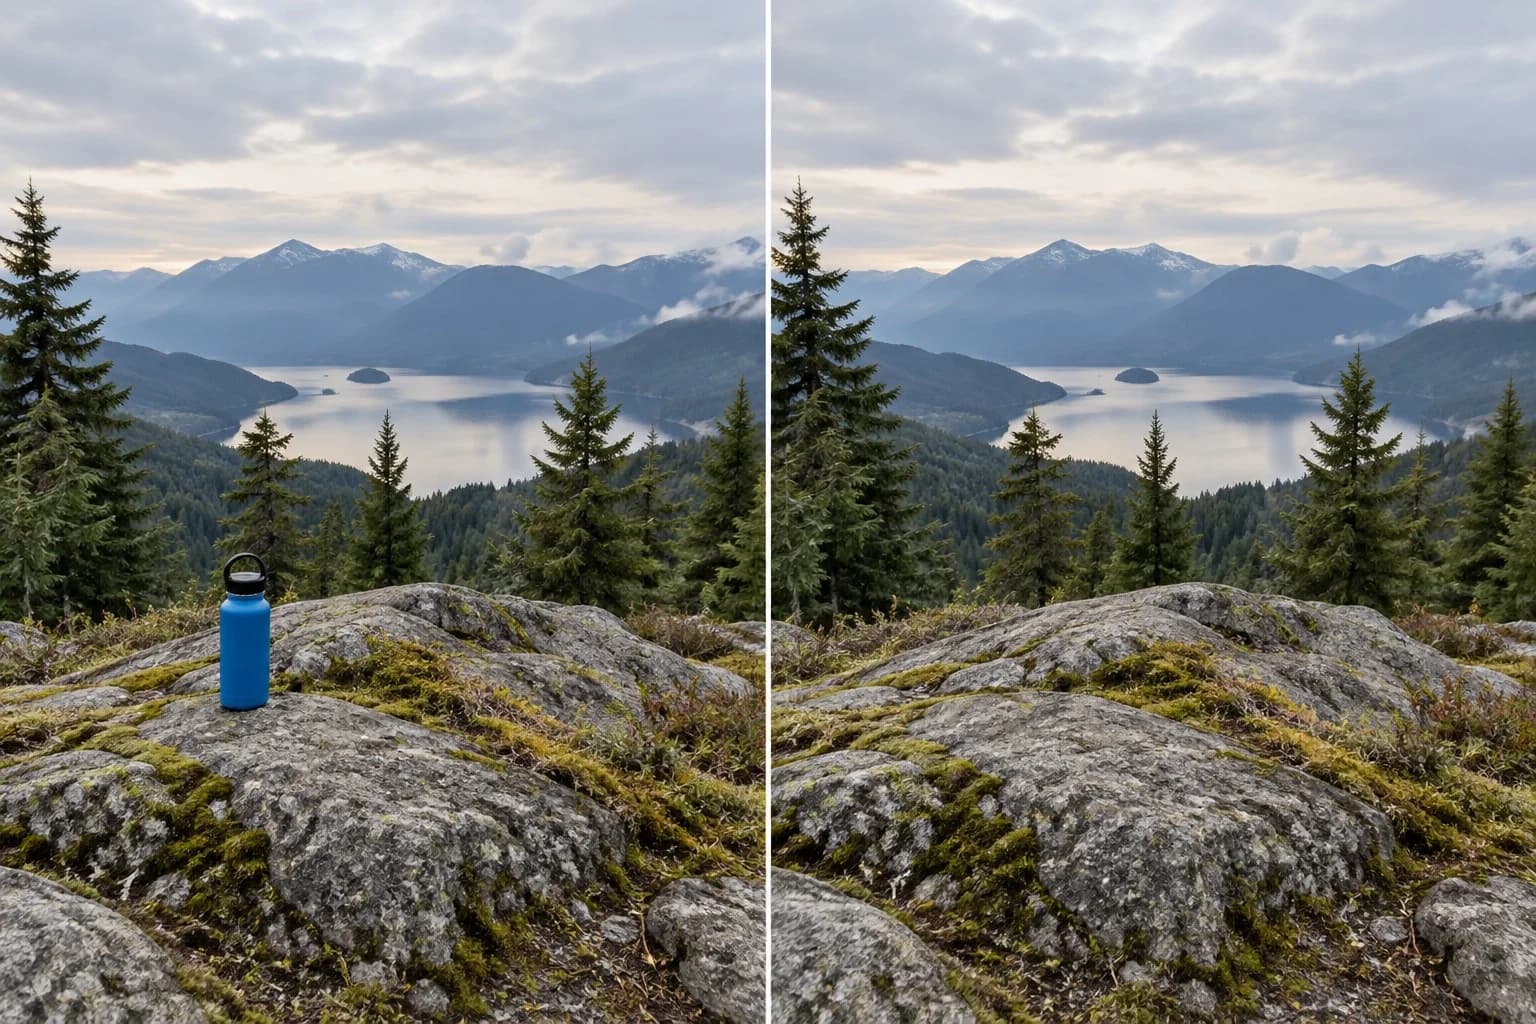
how to remove things from photos
How to remove things from photos: decide whether to crop, retouch, or rebuild the background, then review the image at its final display size before sharing.…
Read article