UpScaler.tools blog
Enlarge and Enhance Photo: Size vs. Detail
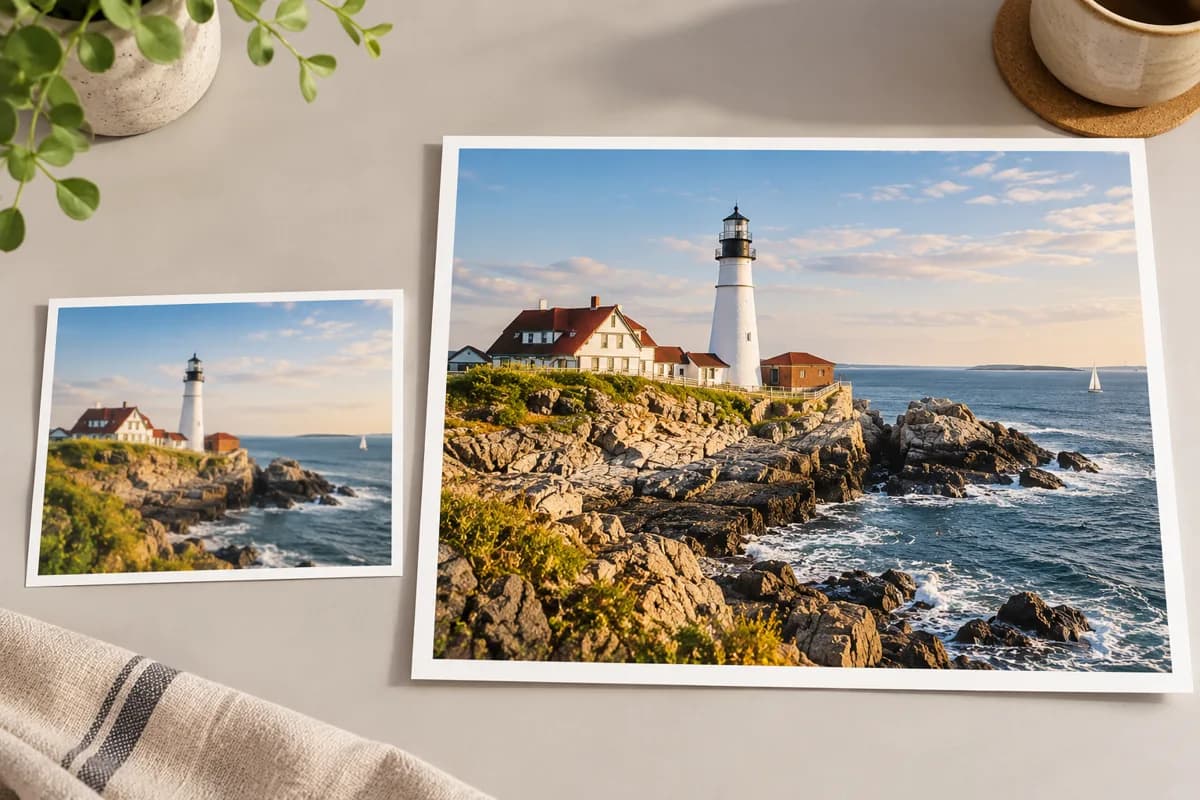
Enlarge and enhance photo quality with a clear workflow: check pixel dimensions, improve noise and color, then review the result before your next design export.
What does it mean to enlarge and enhance a photo?
Enlargement increases pixel dimensions. Enhancement changes how a photograph looks, such as reducing visible noise or balancing exposure. You may need both for a portfolio header or presentation. A cleaner preview does not prove that the file has enough pixels, and more pixels do not guarantee accurate detail.
Start with the original camera file or best available scan. A screenshot of a compressed image gives an editor less information. Keep that original separate so you can compare the result and return to it if processing changes the subject.
Choose a target size before editing
Check the width required by your layout. If an image is 800 pixels wide and your design needs 1,600 pixels, a 2x enlargement reaches that width. Doubling width and height produces four times as many pixels. It does not recover four times as much original information.
For print, calculate pixels from physical dimensions and your printer's requested resolution. A six-inch width at 300 pixels per inch needs 1,800 pixels. Changing a resolution label alone does not add image detail. Our picture resolution guide explains this distinction.
Inspect edges, lettering, and texture before processing. A severely blurred sign may become plausible rather than correct. If accuracy matters, find a better source or take another photograph.
Use Enhance Image for noise, light, and color
The UpScaler.tools AI image enhancer offers an automatic adjustment for visible noise, compression, restrained sharpness, exposure, white balance, and natural color. This AI enhance image workflow has no separate adjustment sliders. Its instructions aim to preserve the subject and composition, but you must check the result.
- Upload one photo. Choose a JPG, PNG, or WebP file up to 10 MB.
- Sign in and process. A completed enhancement uses one credit. A failed processing task returns the reserved credit.
- Compare the preview. Drag across the original and result. Check faces, text, colors, and fine edges.
- Download the PNG. The output is approximately 1K. Check its actual dimensions against your target.
Enlarge after enhancement only when needed
Enhance Image can produce fewer pixels than a large input. If its output is too small, use the separate image upscaler, which offers 2x, 4x, 6x, 8x, and 10x options. Two completed operations use two credits.
Avoid automatically chaining both tools. Compare an enlargement of the original with your enhanced version when needed. Keep whichever meets your size requirement with fewer unwanted changes. Review at 100% zoom and again in the final layout.
The cover is an AI-generated illustration, not an actual UpScaler.tools processing result.
FAQ: photo enlargement and enhancement
Does enhancement always enlarge a photo?
No. Enhancement targets appearance. Check output dimensions separately, especially with the approximately 1K Enhance Image output.
Can AI restore missing detail exactly?
No. Generated texture can differ from the scene. Check labels, facial features, and product shapes against the original.
Which tool should I start with?
Use Enhance Image for noise or color problems. Start with the upscaler when insufficient pixel dimensions are the main issue.
Clear the Background of an Image: 2 Ways
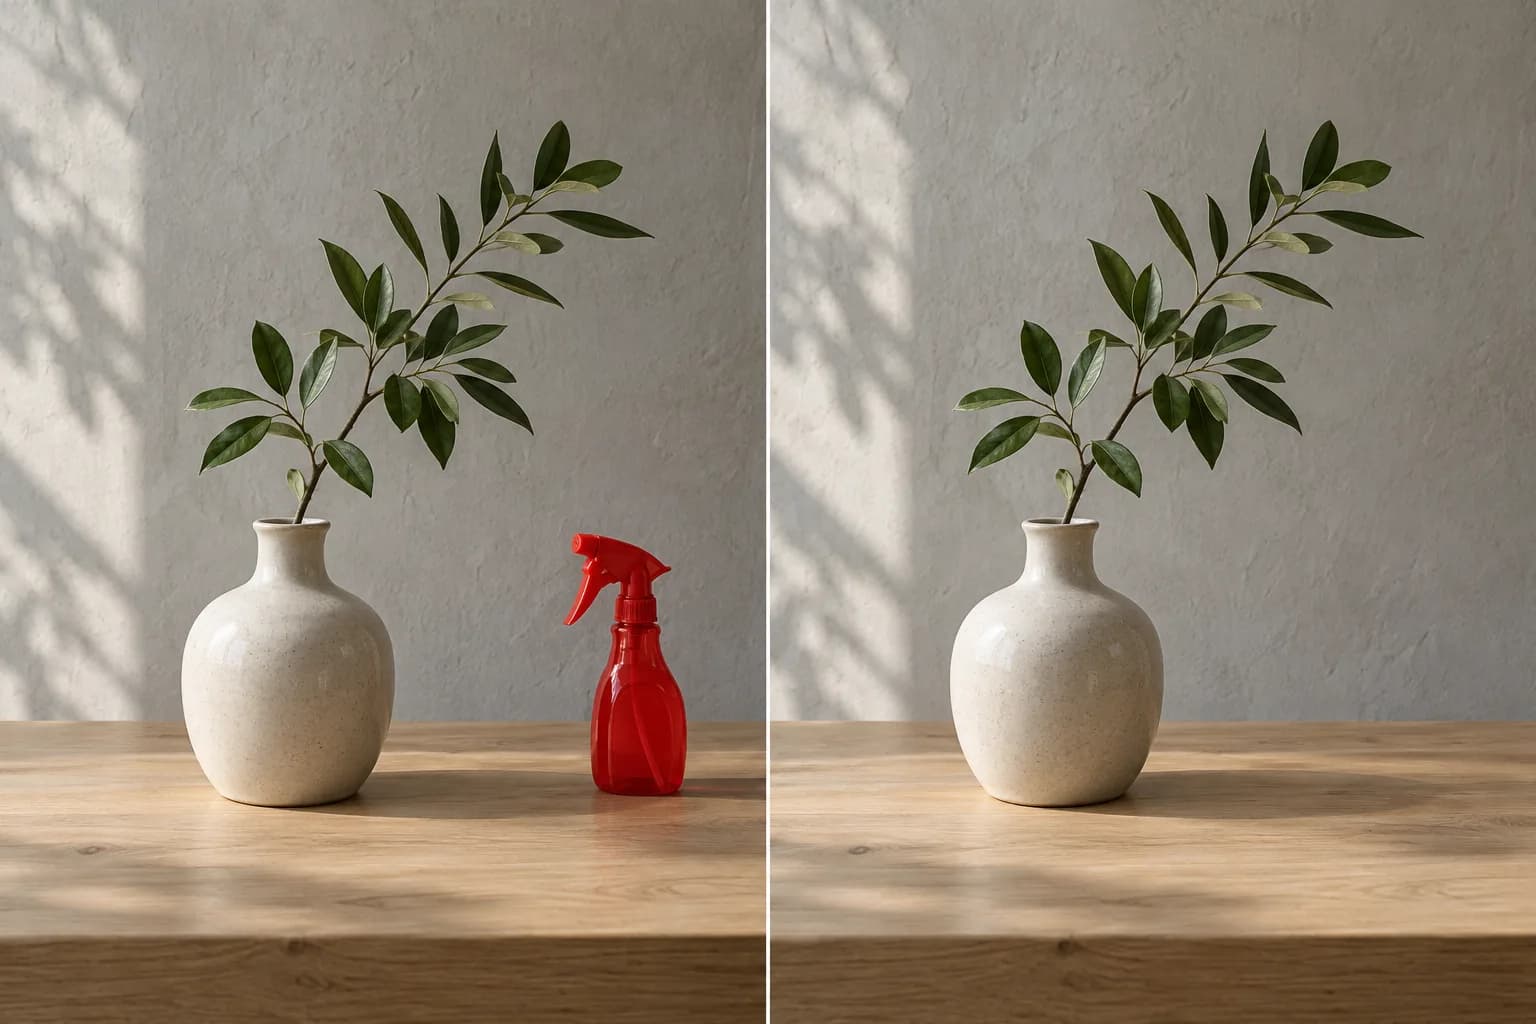
Learn how to clear the background of an image: remove distractions while keeping the scene, or make a transparent cutout. Choose the right method before…
Read article
Remove Something from a Picture: Edge Tips
Learn how to remove something from a picture: choose cropping, healing, or AI erasing, then check edges, shadows, and texture before saving your edited photo.…
Read article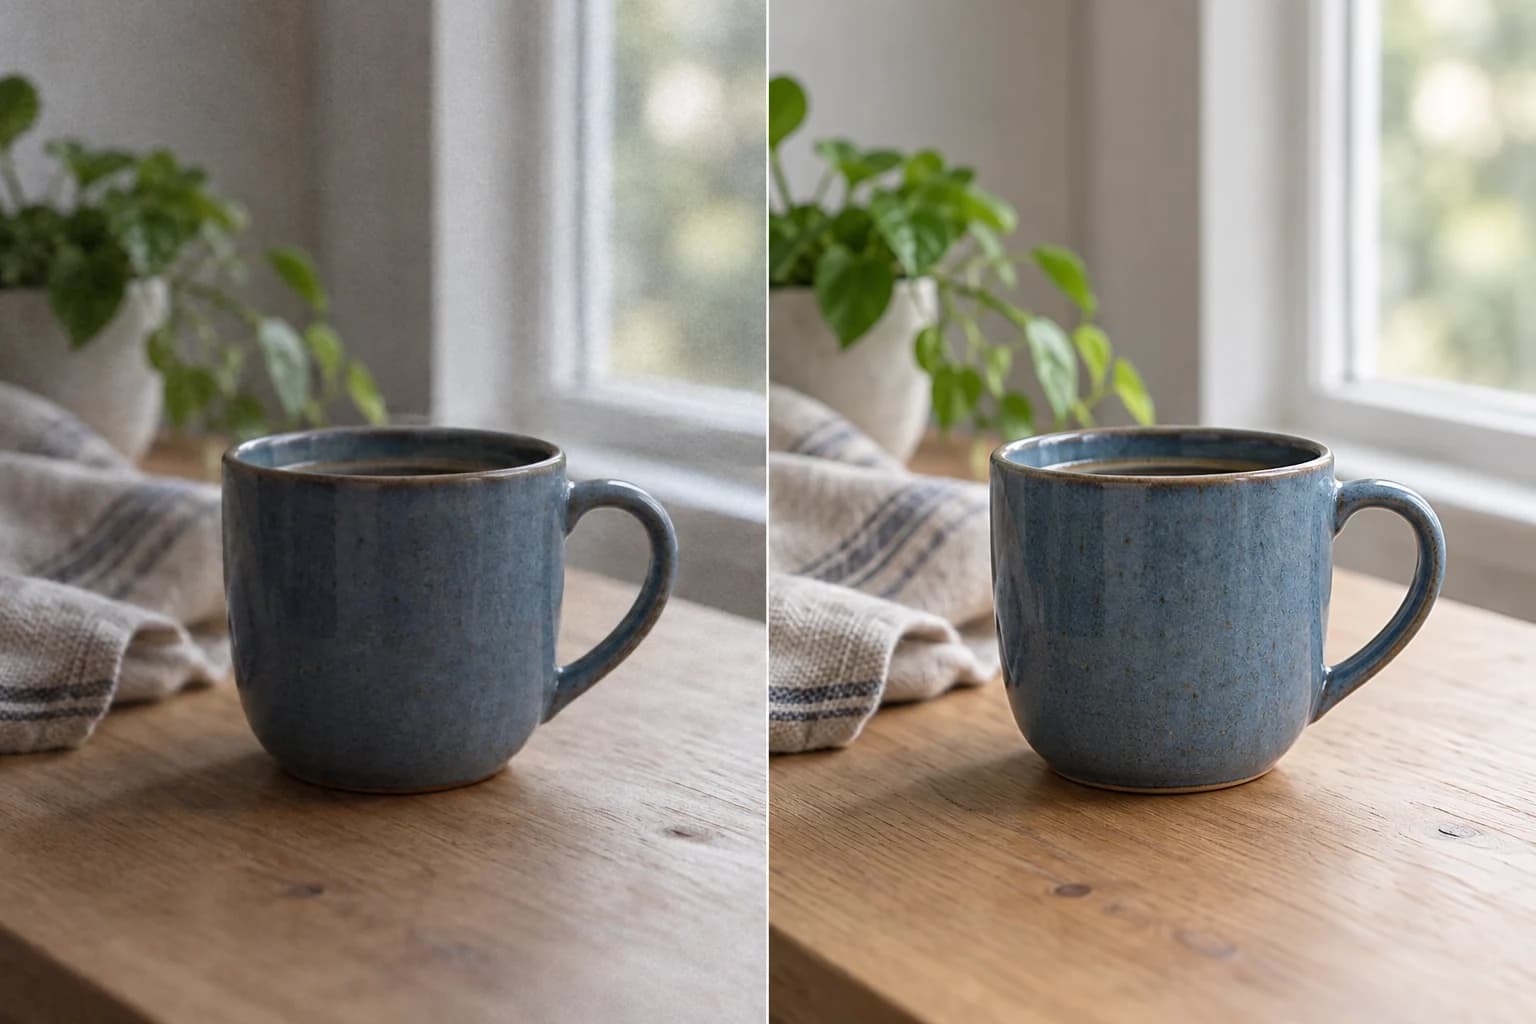
Upgrade Photo Quality: Fix Noise & Color
To upgrade photo quality, start with the visible problem: flat light, noise, compression, or soft detail. Compare the result with the original. A larger file…
Read article