UpScaler.tools blog
How to Enhance Image Using AI
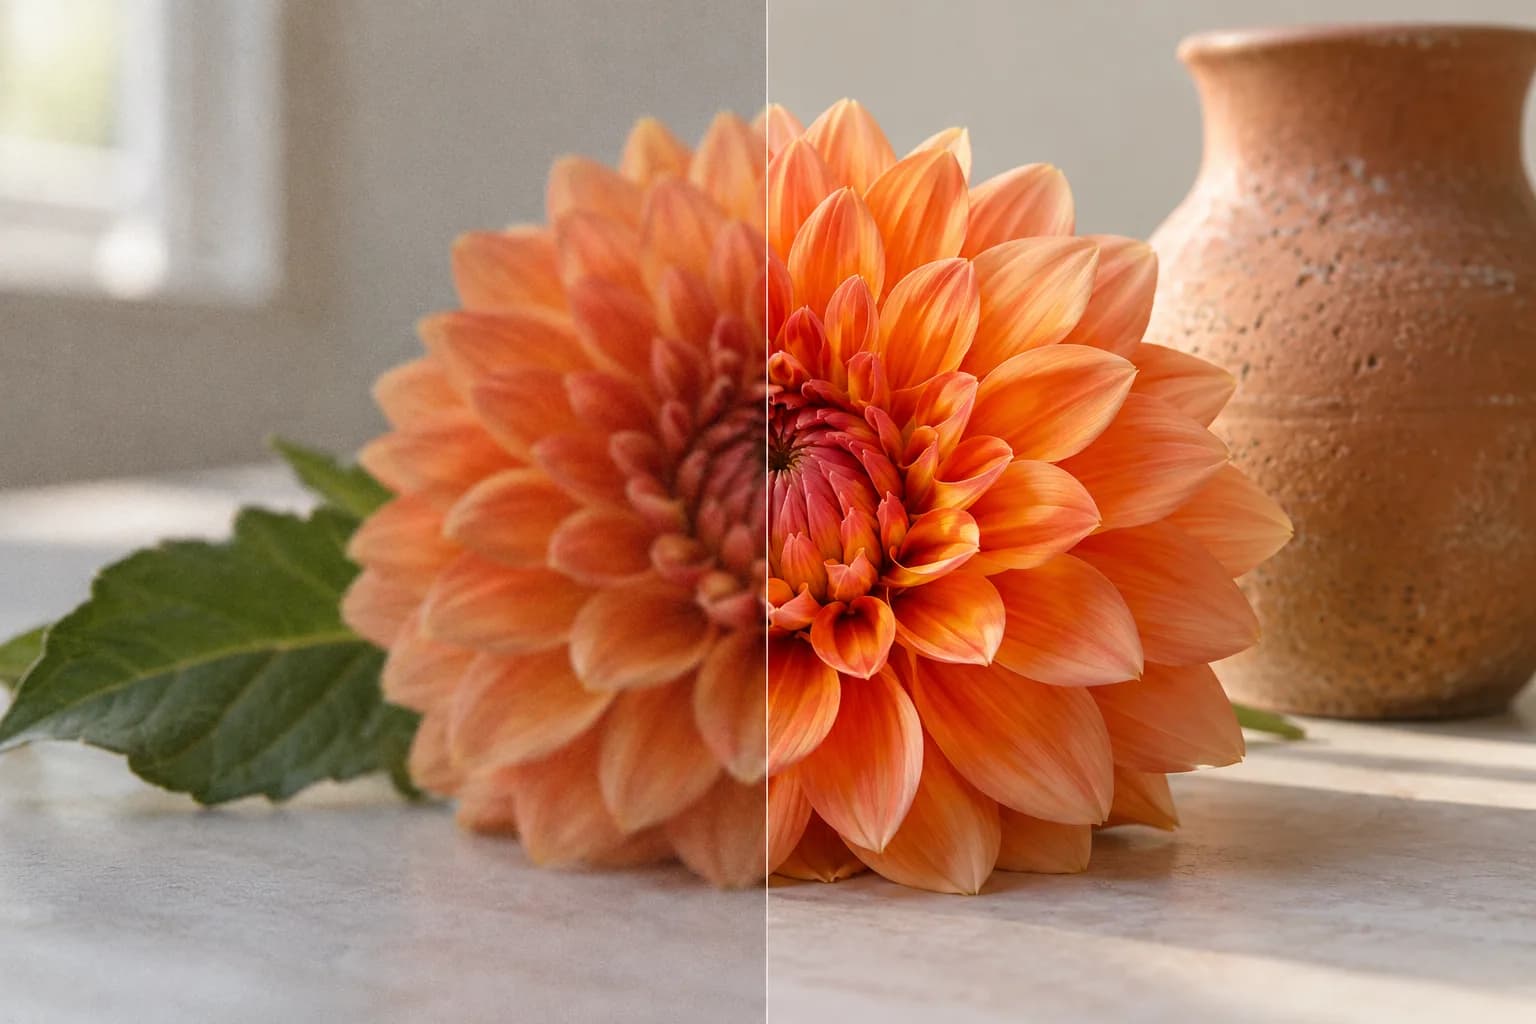
Learn how to enhance image using AI: prepare your photo, reduce noise, compare details, and download a natural result with the UpScaler.tools image enhancer.
To enhance an image with AI, start with the best available original, run one enhancement pass, and compare the output before using it. The important decision is whether the edit improves your intended use while keeping the subject accurate. A sharper-looking preview alone does not establish that.
The cover is an AI-generated illustration, not an actual UpScaler.tools processing result.
What does AI image enhancement change?
AI image enhancement uses a model to estimate changes that can improve visible image quality. Depending on the tool, these changes can include noise reduction, clearer edges, more balanced exposure, and color correction. Generative enhancement can also produce plausible detail that differs from the source, so inspection is part of the workflow.
Noise, softness, and compression require different judgments. Grain in a dark wall may be distracting, while grain in a film photograph may be intentional. Smoothing both equally can erase the character you wanted to keep. Decide what needs correction before asking an automatic tool to change it.
Enhancement also differs from upscaling. A cleaner image can contain fewer pixels than its source. If you need a large print or a bigger design asset, check the required pixel dimensions first. Our guide to picture resolution and DPI explains that separate decision.
Prepare an image before AI enhancement
Use the original camera export or the highest-quality scan you have. A screenshot of a compressed social post gives the model less reliable information. Keep an untouched copy and avoid repeatedly exporting JPEG files while preparing the input.
Write down one visible problem and one detail that must remain correct. For a room photo, the problem might be dark furniture; the protected detail might be the wood color. For a portrait, it might be visible noise around the face, with facial features kept unchanged.
This small check prevents an attractive edit from passing for an accurate one. For design work, also note the final display size. You may accept some softness in a small newsletter image that would be distracting in a full-width portfolio header.
Check AI-enhanced image quality at two sizes
Inspect the output at its intended display size, then at 100% zoom. The first view tells you whether the photograph works in the layout. The second exposes bright edge outlines, smeared texture, and changed lettering that a small preview can hide.
Compare the same areas in both versions. Look at skin texture, hair, fabric, labels, and straight architectural edges. Keep the original visible so that an apparent improvement does not quietly change the subject. For merchandise, accurate color and shape matter more than extra contrast.
If the image contains a barely readable sign or a heavily blurred face, treat new detail as uncertain. AI enhancement cannot verify what the original scene contained. Find another source or reshoot when factual accuracy is essential.
How to enhance image using AI on UpScaler.tools
The UpScaler.tools AI image enhancer provides an automatic natural-quality pass. It is instructed to reduce visible noise and compression, refine restrained sharpness, and balance exposure, white balance, and natural color. There are no separate manual sliders for these adjustments in this workflow.
Use this AI enhance image workflow when your goal is a cleaner presentation of an existing photo:
- Choose an image. Open Enhance Image and upload one JPG, PNG, or WebP file up to 10 MB. Start from your saved original.
- Sign in and start processing. Each completed enhancement uses one credit. A failed processing task returns the reserved credit automatically.
- Compare the preview. Drag the before-and-after comparison across the subject. Check the problem you identified and the detail you need to preserve.
- Download the PNG. Save the approximately 1K result separately. Check its actual dimensions before placing it in your design.
The processing instruction aims to preserve identities, text, objects, framing, and style. These are targets rather than guaranteed outcomes. This tool is not a 4K or 16K upscaler. Use the separate image upscaler if increasing pixel dimensions is the main task.
For example, suppose a room photograph has noisy shadows and dull cushions. Check whether the cushions become easier to see without changing the upholstery pattern or wall color. Reject the output if it invents seams or makes surfaces look painted. This is a review example, not a measured product result.
FAQ: AI image enhancement
Can AI enhance a blurry image?
AI may improve mild softness, noise, or compression. Severe motion blur and missed focus remove reliable visual information. For those cases, a new photo or a better original is usually more dependable than generated detail.
Does AI enhancement increase image resolution?
Not necessarily. Enhancement describes changes to appearance. UpScaler.tools Enhance Image produces an approximately 1K PNG, so a large input may have a smaller output. Check pixel dimensions and use an upscaler when size is the requirement.
Should I enhance the same photo more than once?
Compare one pass first. Repeated processing can compound texture changes and sharpening artifacts. If the first result fails your checks, return to the original or use targeted manual edits rather than enhancing the edited file again.
What should I check before publishing an enhanced image?
Check facial features, lettering, product shape, color, and texture against the original. Then view the image in its final layout. Open Enhance Image with one photo and decide which detail must stay accurate before processing.
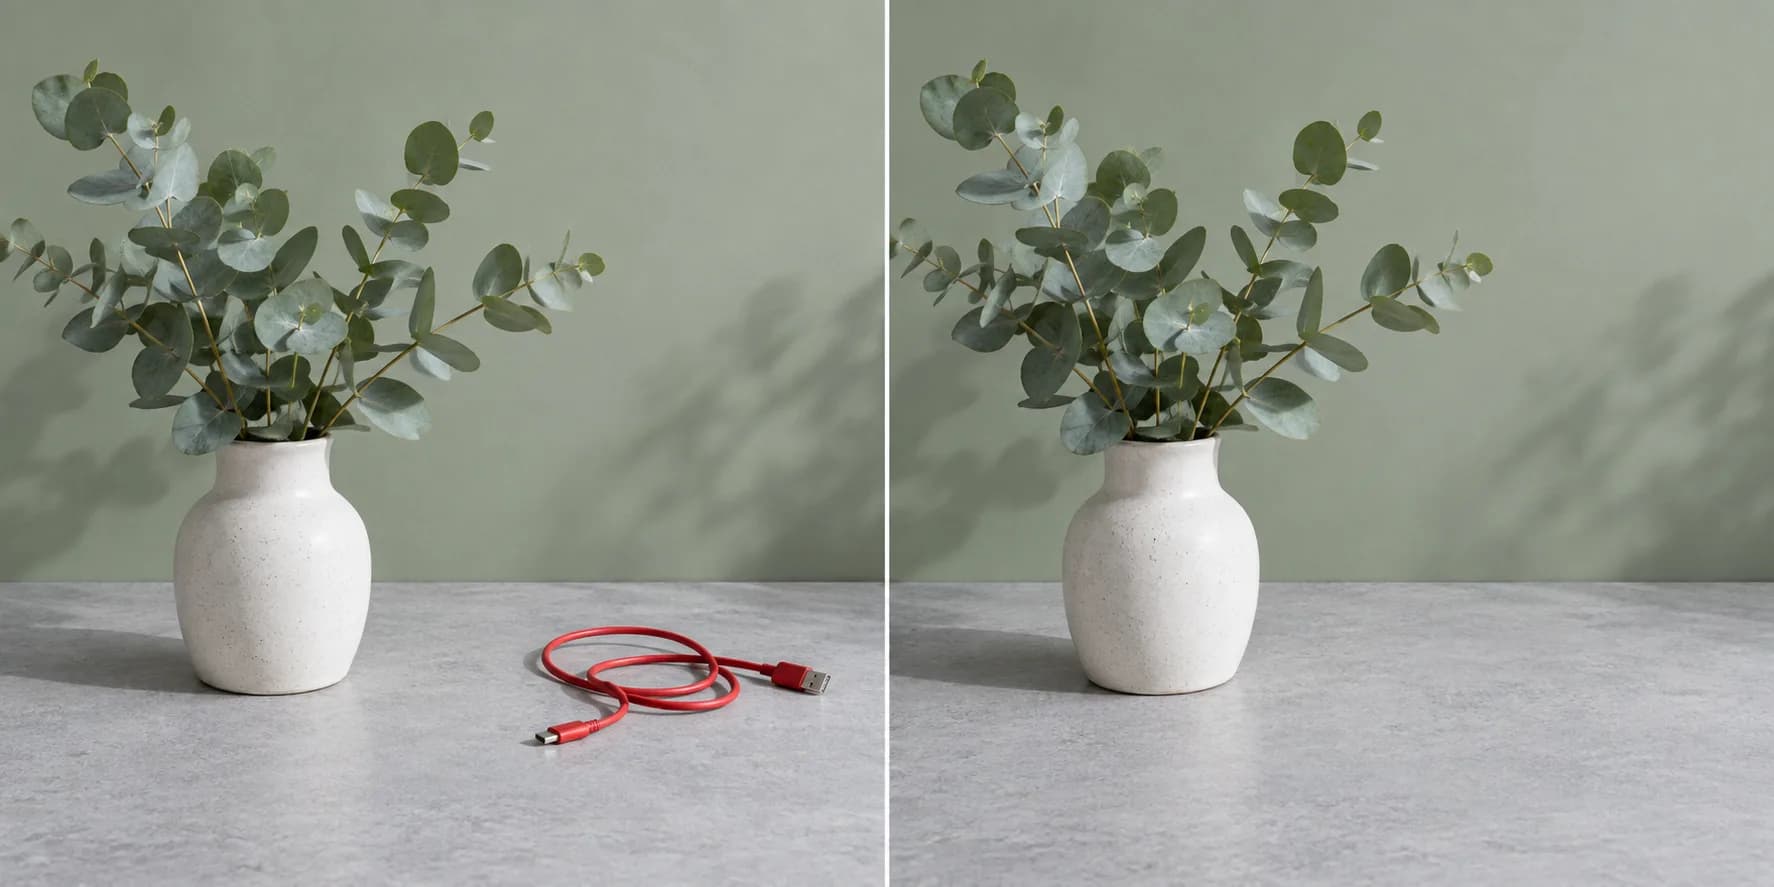
Remove Something from a Picture: Edge Tips
Learn how to remove something from a picture: choose cropping, healing, or AI erasing, then check edges, shadows, and texture before saving your edited photo.…
Read article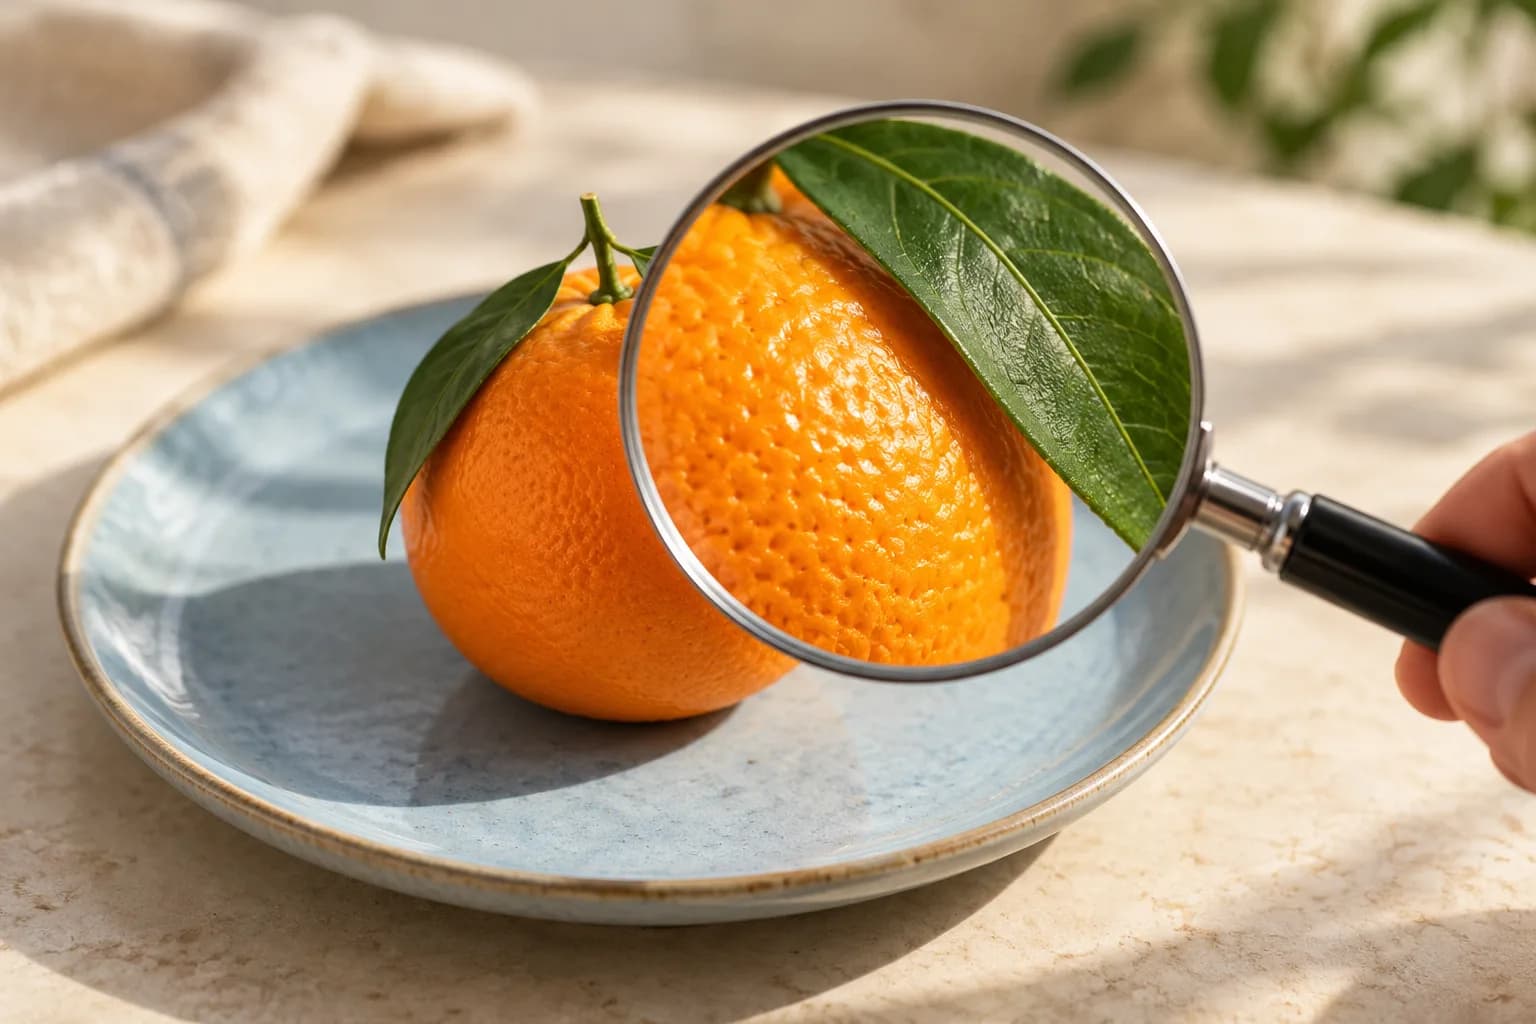
Image Quality Increaser: Keep Details Real
An image quality increaser can reduce noise and improve image clarity. Learn to inspect real detail, use AI enhancement, and download a natural-looking photo.…
Read article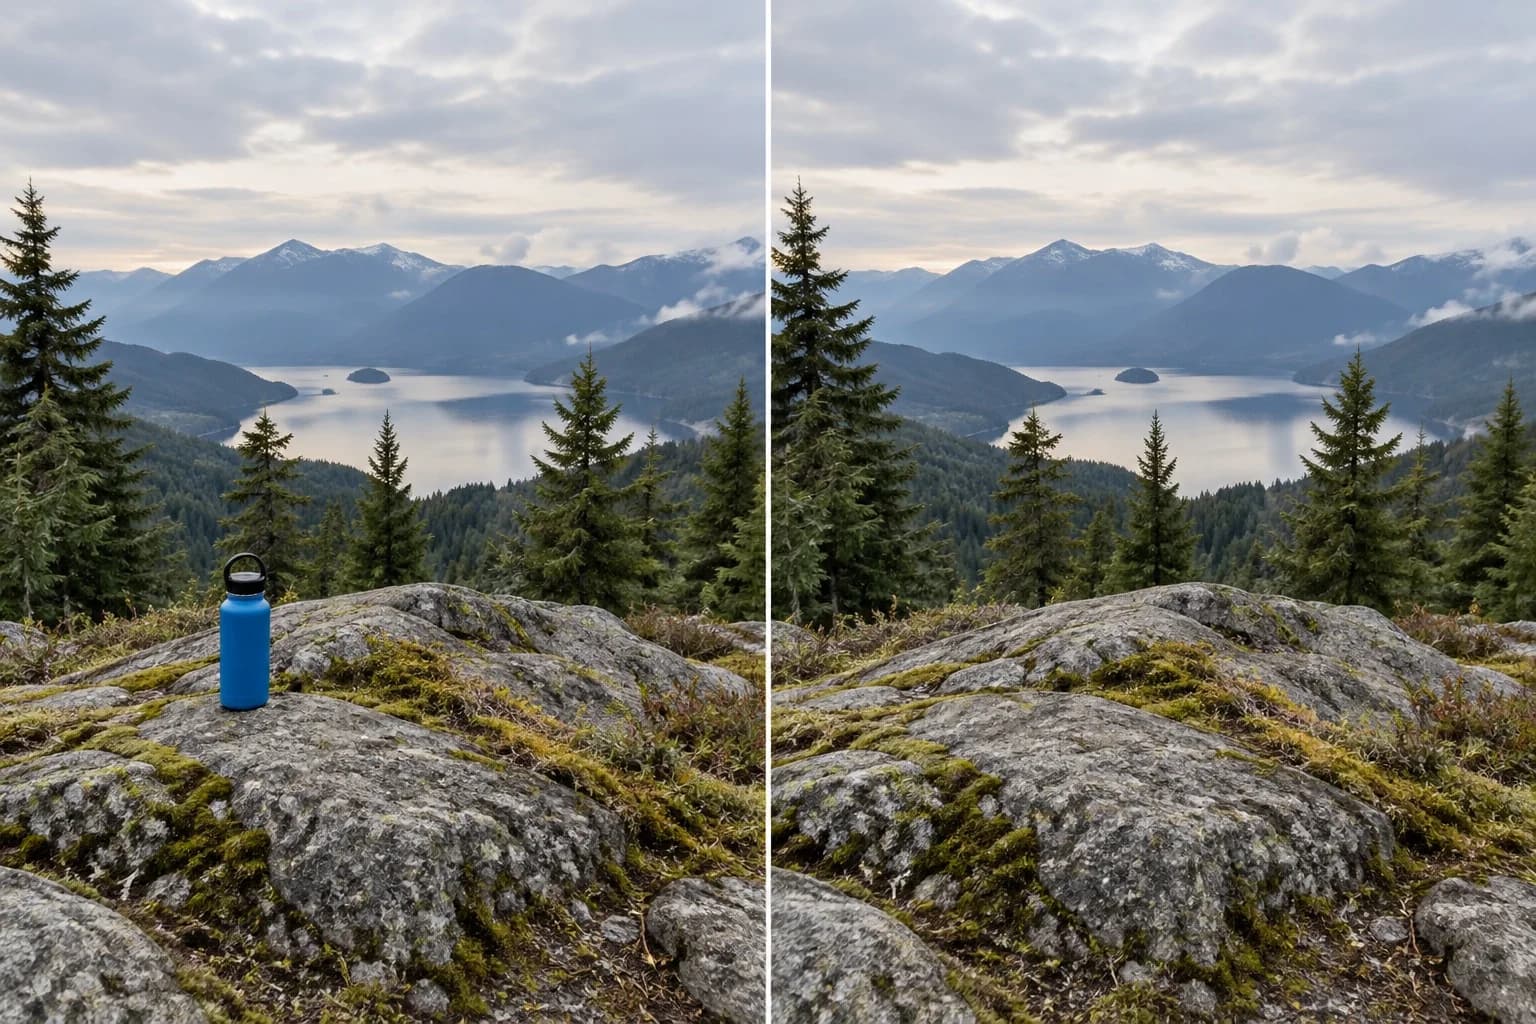
Remove Things from Photos: Erase or Crop?
How to remove things from photos: decide whether to crop, retouch, or rebuild the background, then review the image at its final display size before sharing.…
Read article